Author: Alison Foshee
-
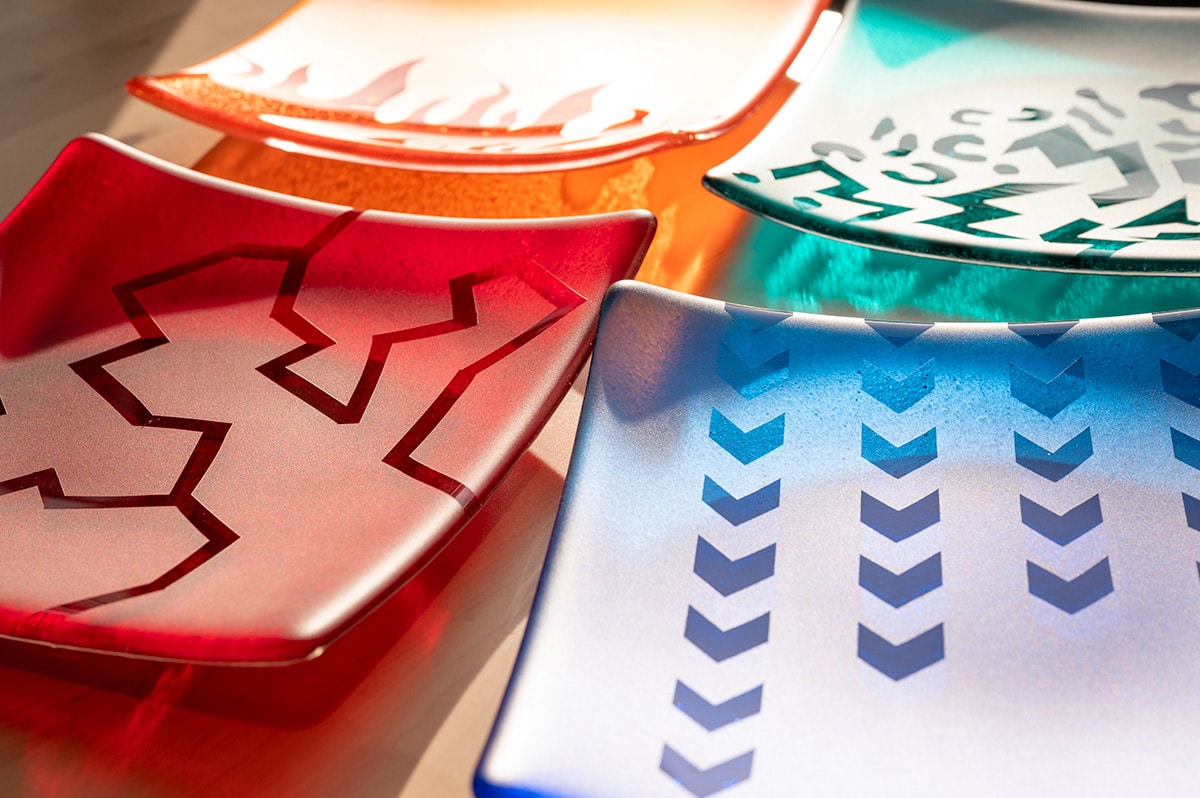
Great Plates Sandblasted!
Make Mad Matte Art! Bullseye’s Great Plates Sandblasted! class unlocks incredible effects for glass art. This is an all-inclusive introduction to the vibrant, creative world of glass art—designed for total…
-
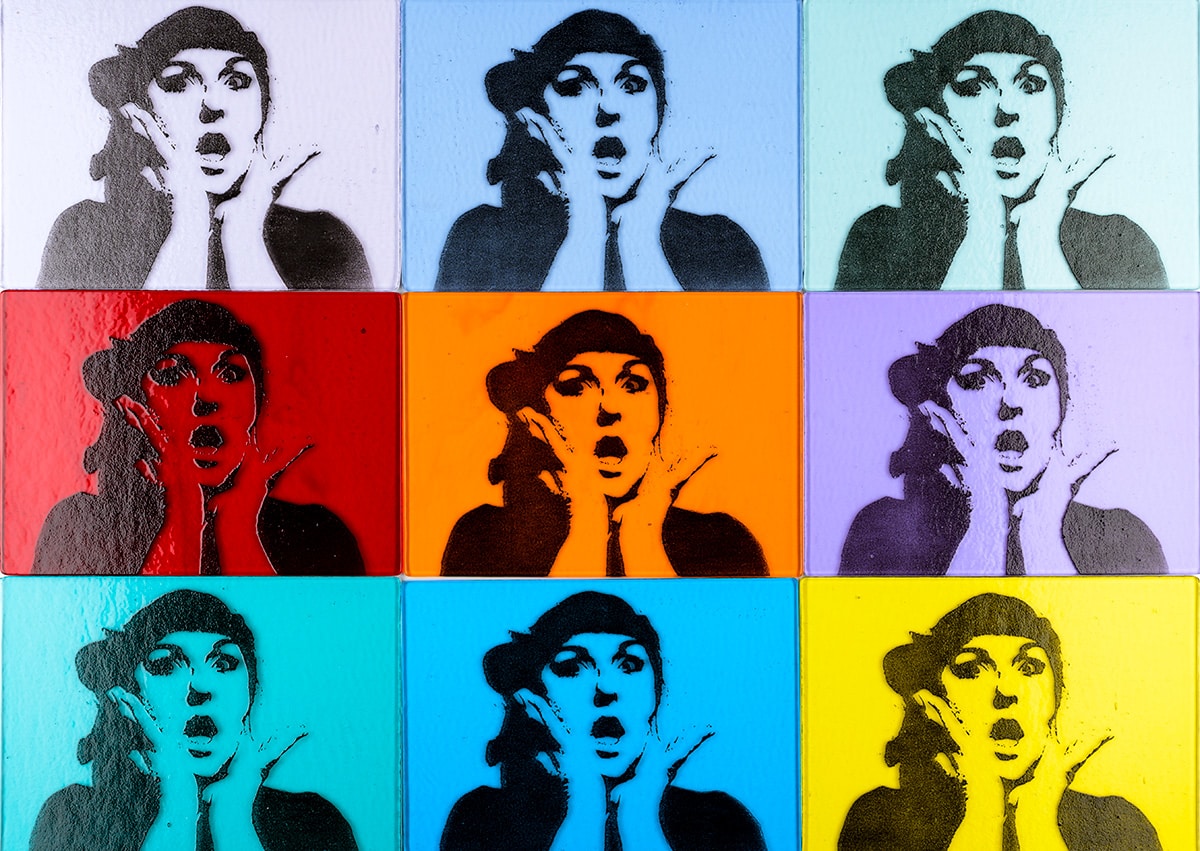
Pop Portraits
Infuse Portraits with Color & Light Bullseye’s Pop Portraits class is an exciting, all-inclusive introduction to the vibrant, creative world of glass art—designed for total beginners! Through this hybrid in-person…
-
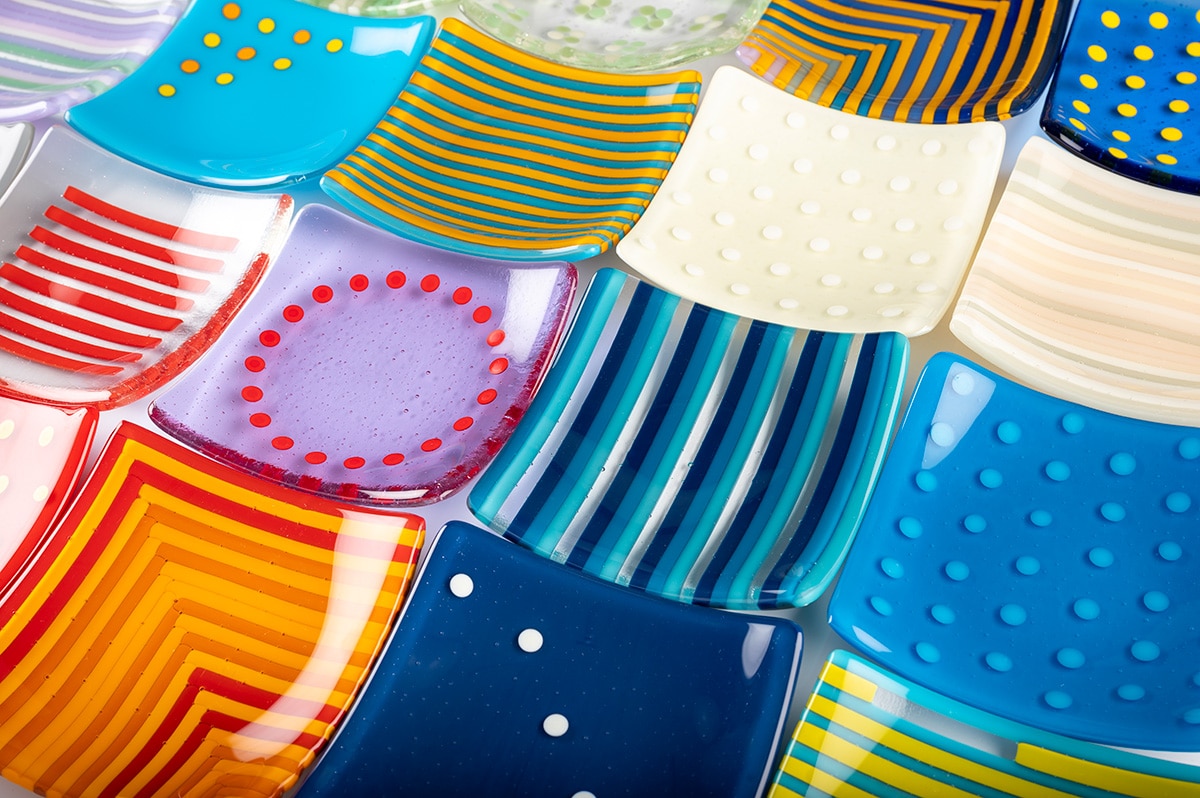
Stripes and Dots
Glass Fusing for Everyone Bullseye’s Stripes and Dots class is a fun, all-inclusive introduction to the vibrant, creative world of glass art—designed for total beginners! Through this hybrid in-person and…
-
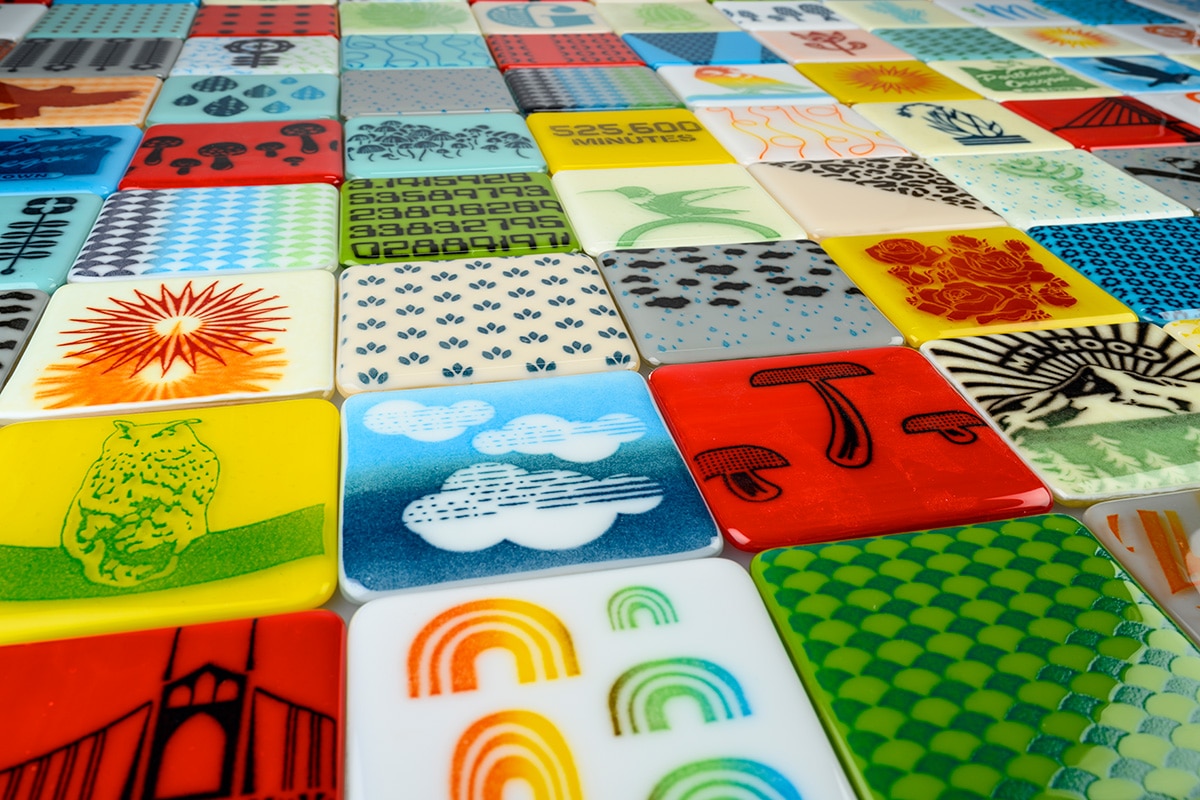
Infinite Image Factory
Turn Photos & Designs into Glass! Bullseye’s Infinite Image Factory class is a fun, all-inclusive introduction to the vibrant, creative world of glass art—designed for total beginners! Through this hybrid…
-
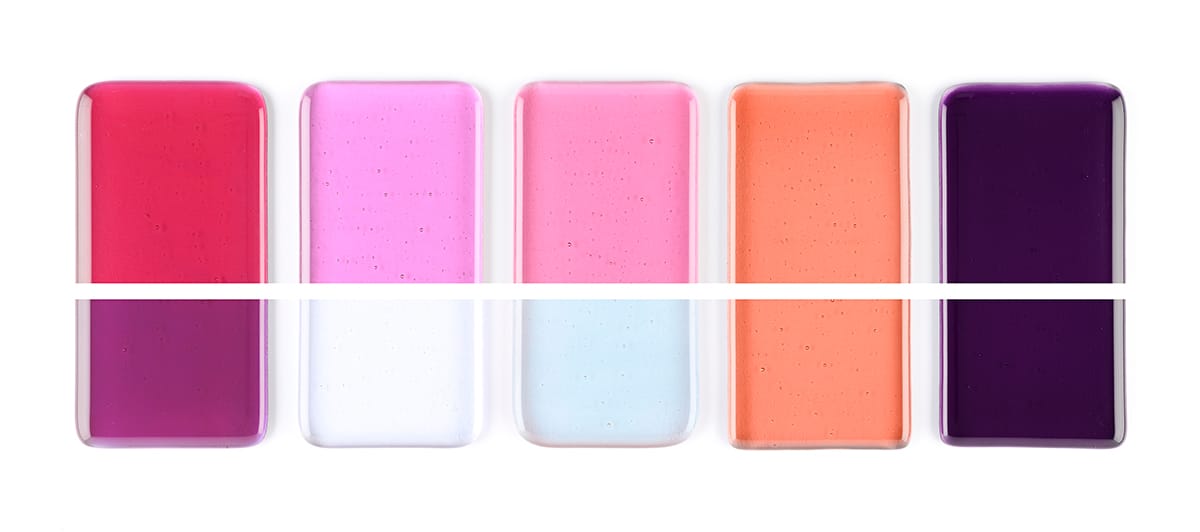
Properly Pink, Purple and More
Many of Bullseye’s glass styles must be fired before they strike to their intended color. Of these “strikers,” the pink / purple / coral family are made with gold as…
-
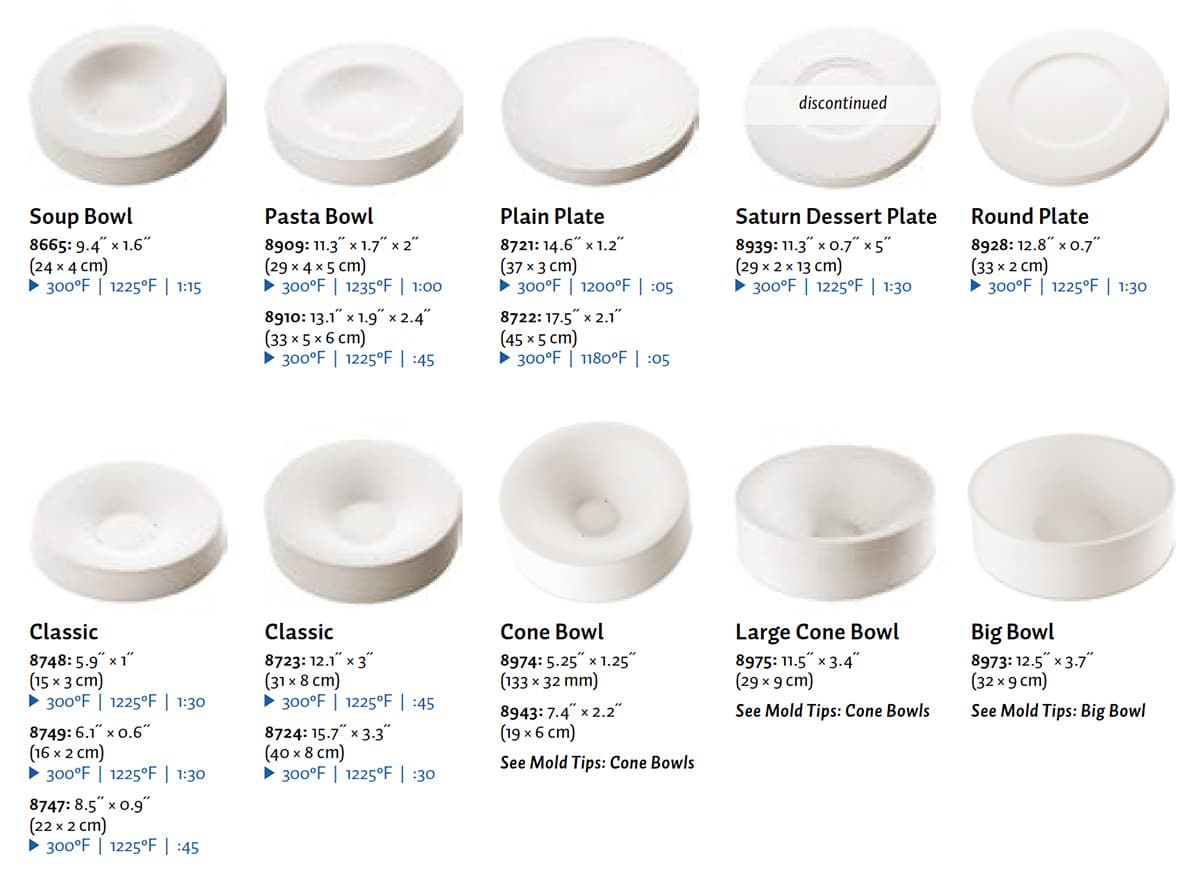
Suggested Slumping Schedules
Fahrenheit and Celsius These slumping schedules have been collected over years of experience at Bullseye’s Research & Education studios. Note that the schedules are intended as a starting point. Many…
-
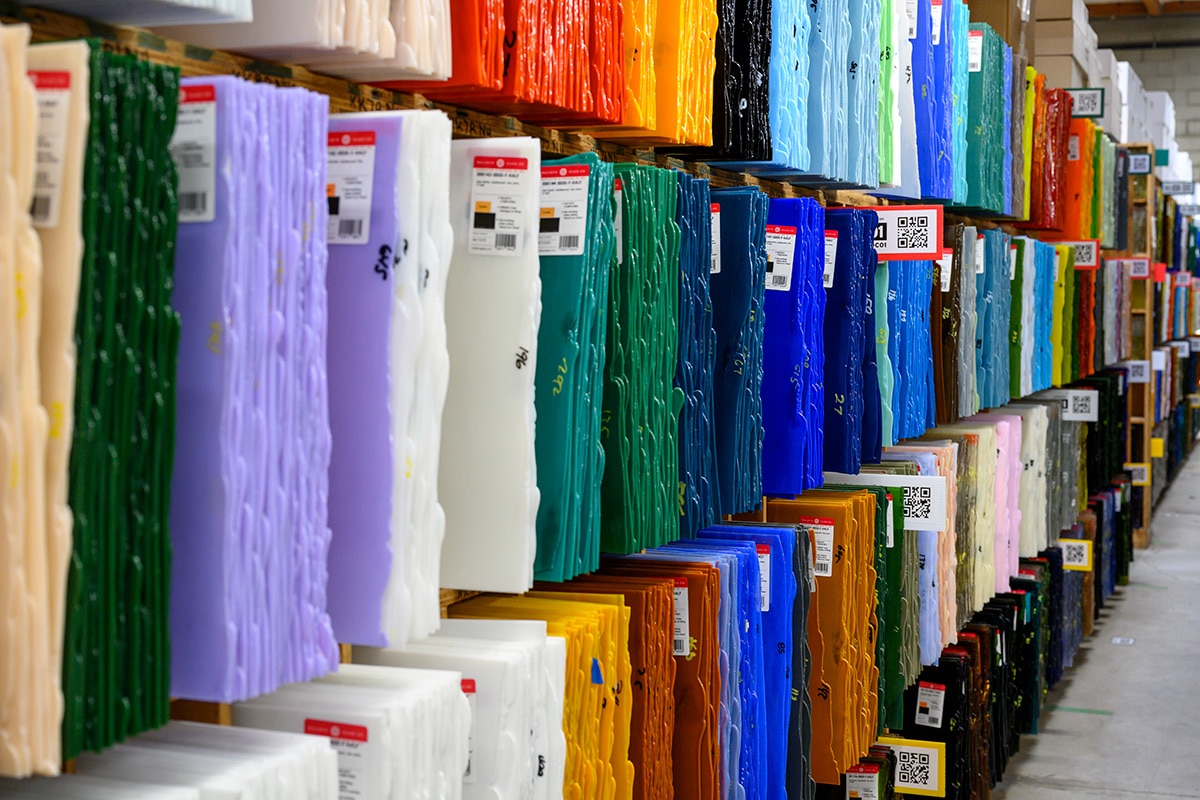
Inventory Worksheet
For the record Keep track of your glass and know when it’s time to restock with this inventory worksheet.
-
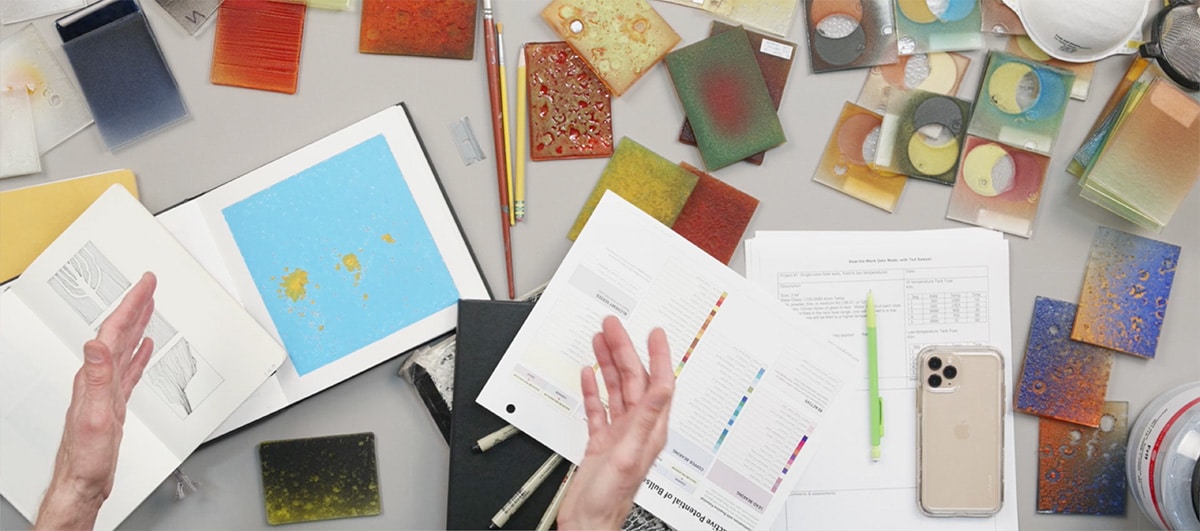
Kilnforming Project Notes
All the little details Get organized. Keep valuable records on your kilnforming projects, using forms designed by Bullseye technicians. The three-hole-punch format fits standard binders.
-
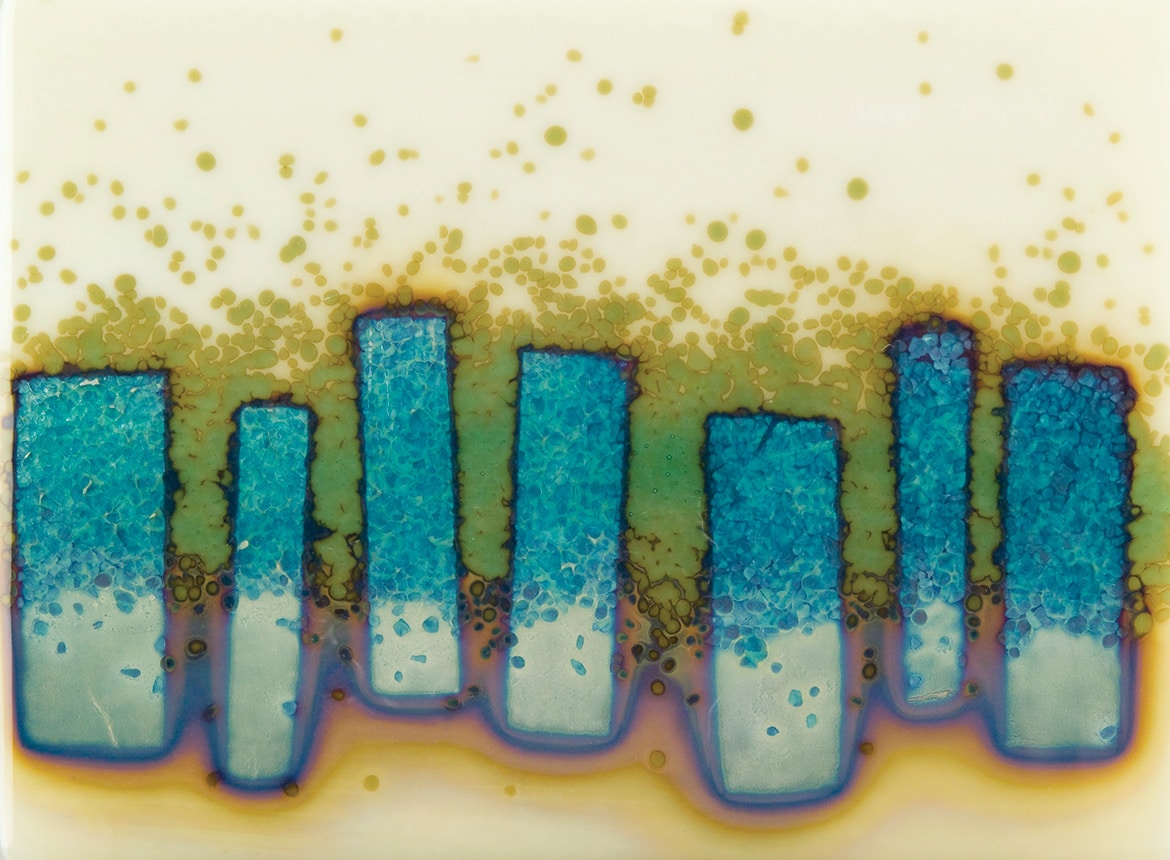
Quick Tip: A Riot of Effects
Simple Layup + Reactions = A Riot of Effects What’s Going On In This Glass? Our piece may look complex, but the colorful effects resulted from just allowing and preventing…
-
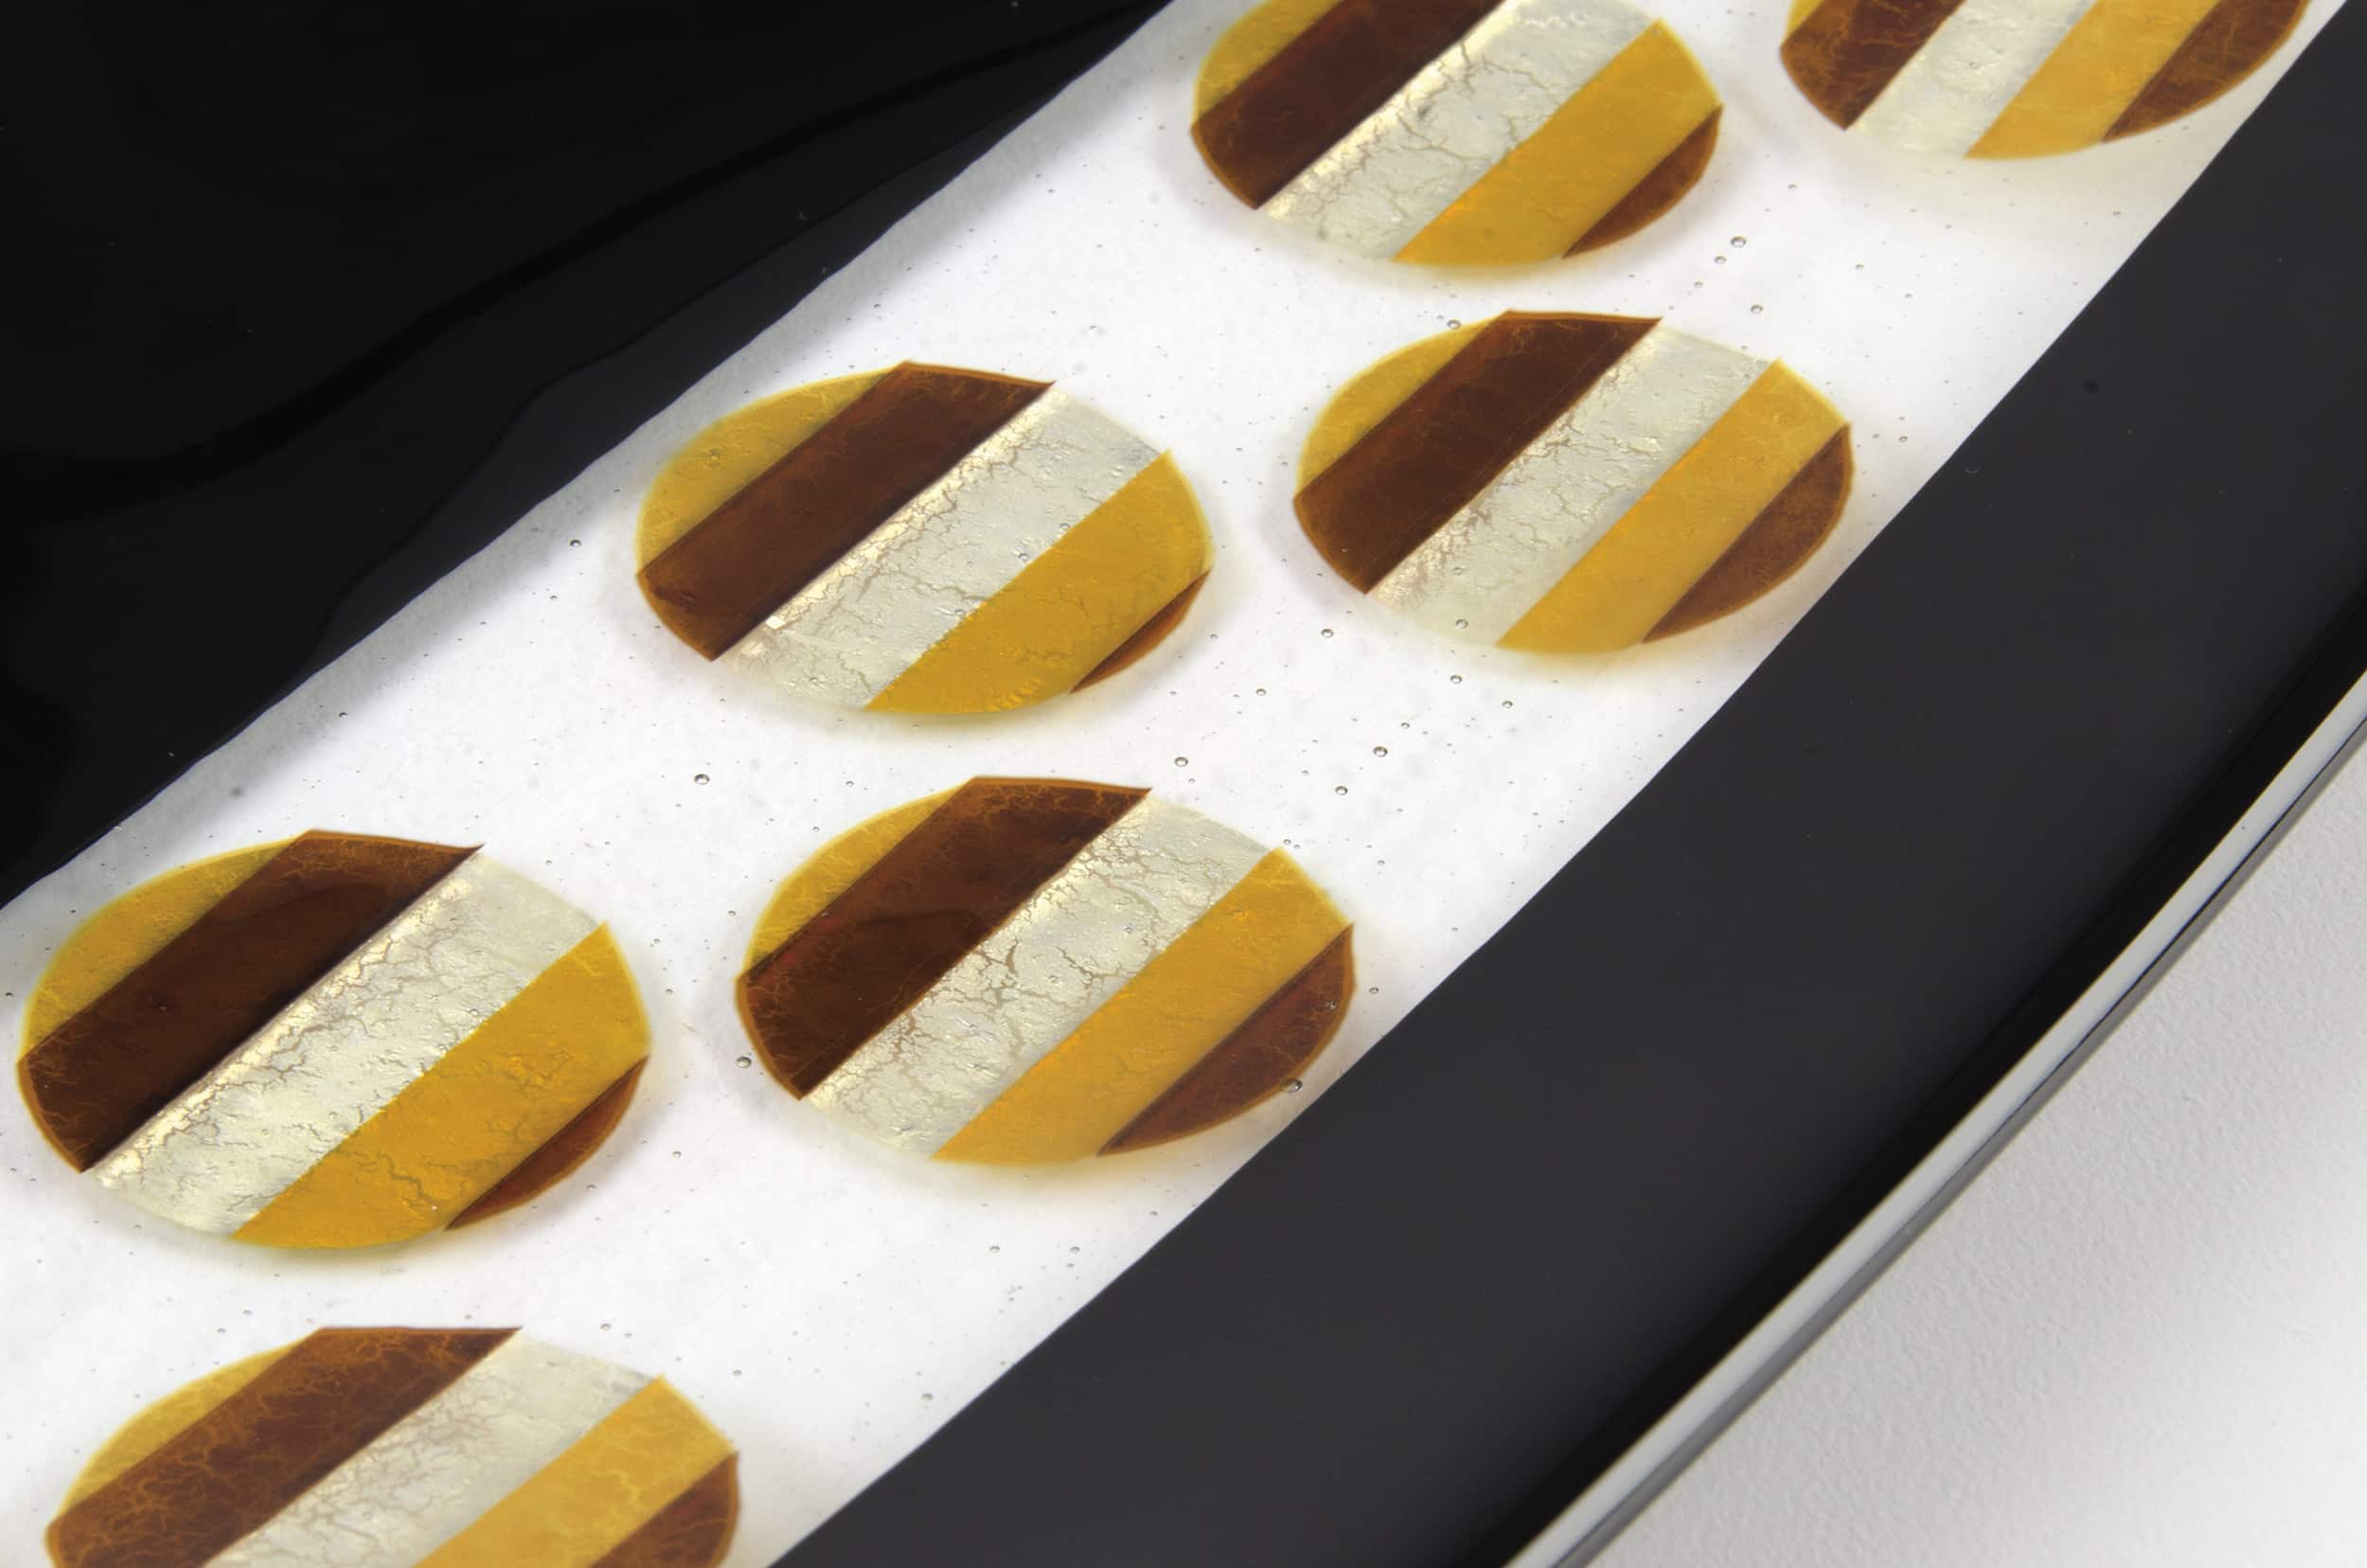
Quick Tip: Alchemy Metallic Palette
Create gold & bronze hues by capping Silver Foil with Bullseye’s Alchemy Clear styles. Design Place silver foil elements on a base of 3 mm Tekta Clear. Make the top…
-
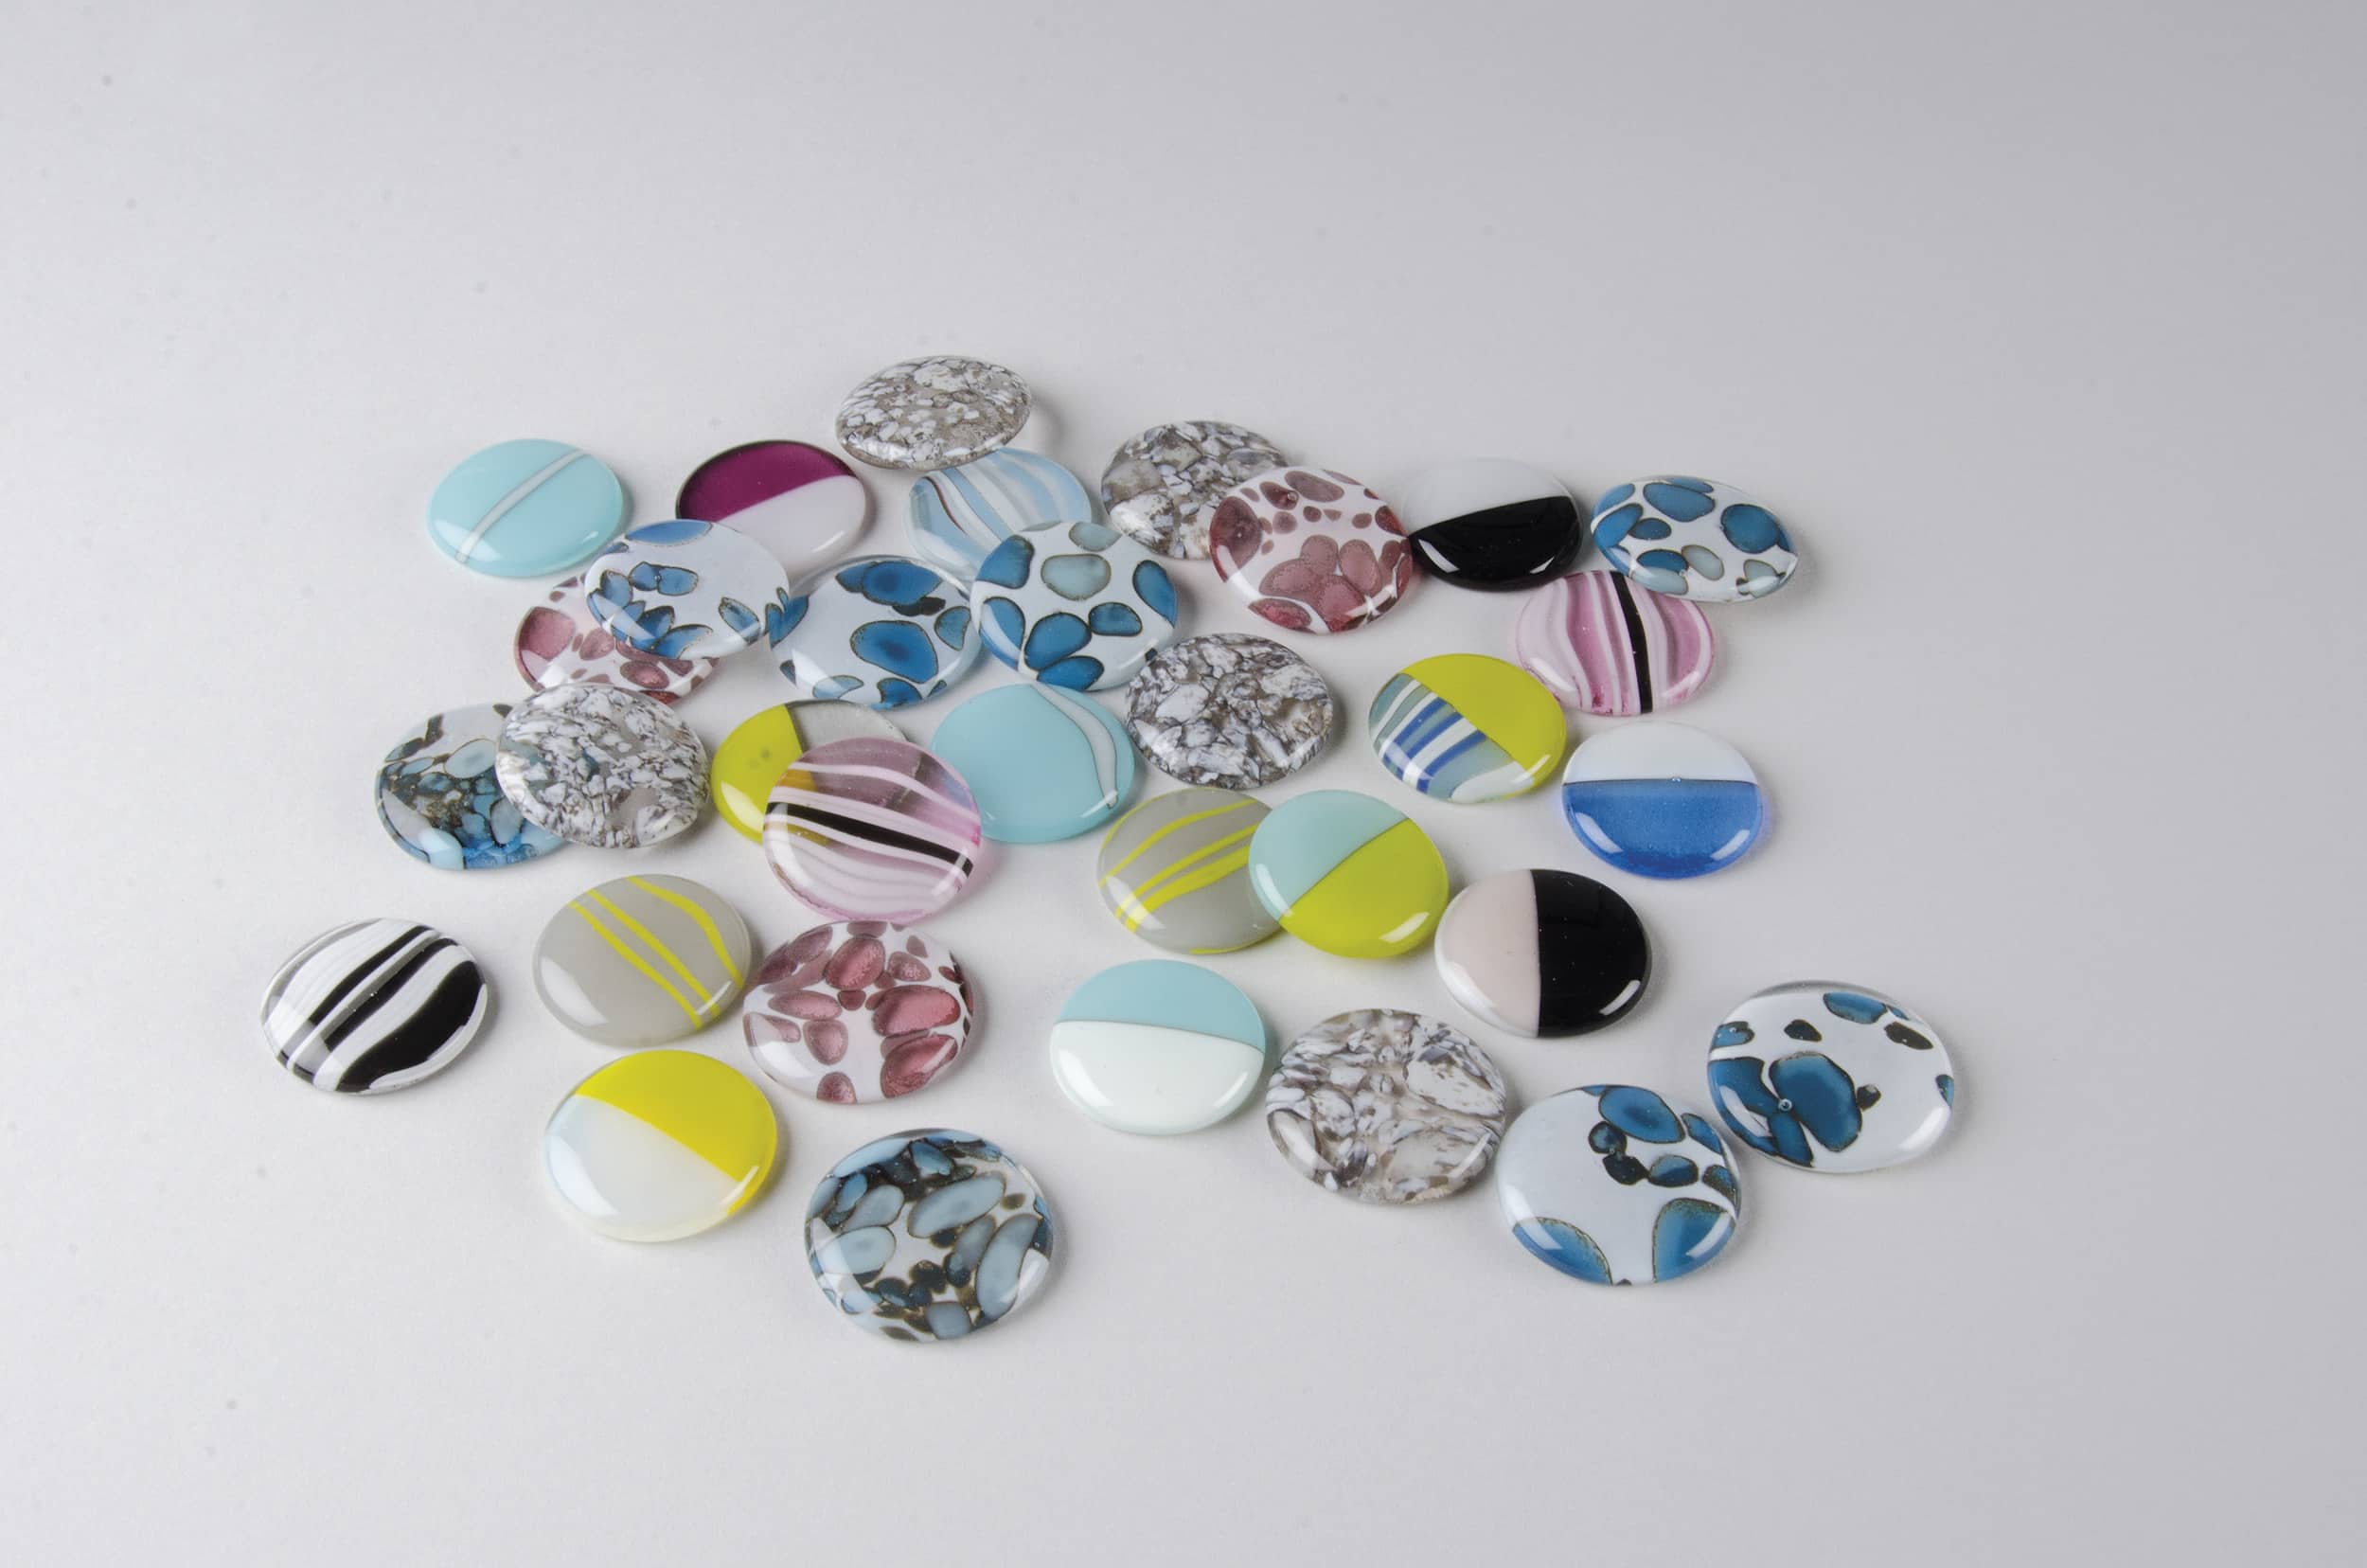
Quick Tip: Circles From Squares
Create round cabochons from squares by using the 6 mm rule! The Stack Top (6 mm): A “lensing” layer of Clear. This layer will stretch considerably. Middle (3–4 mm): This…
-
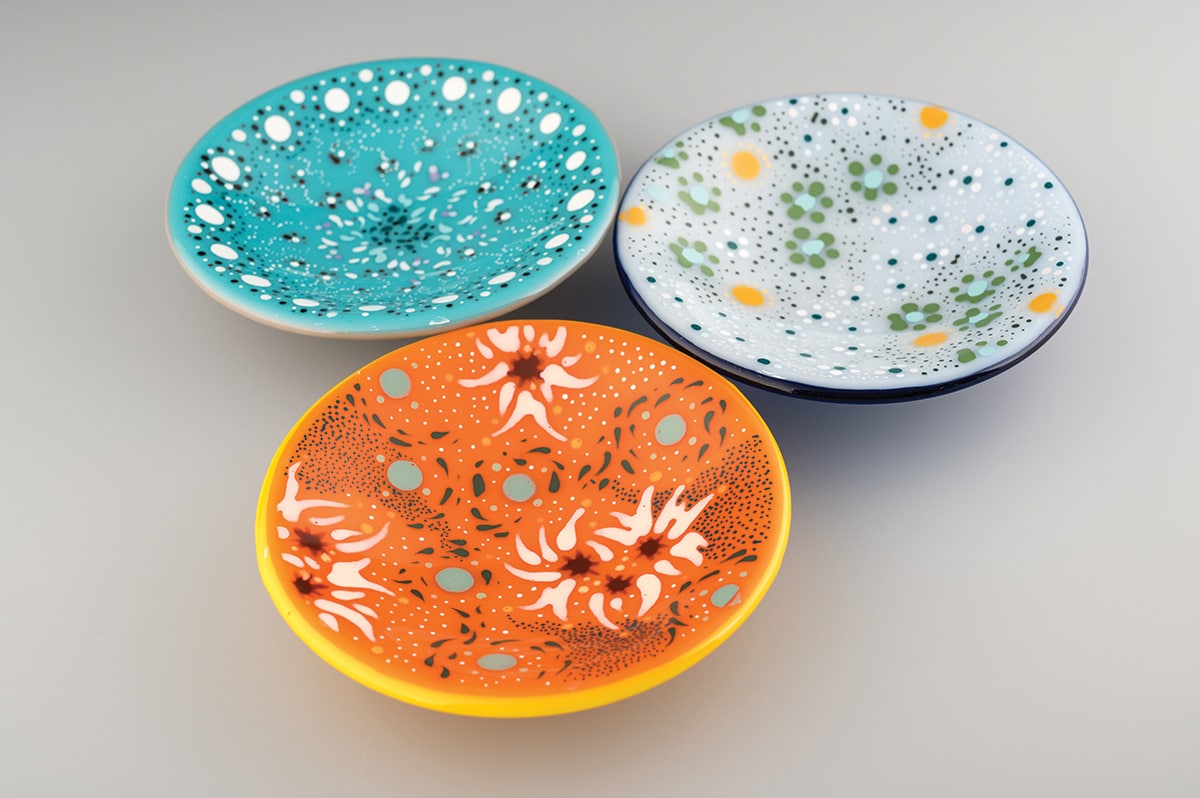
Quick Tip: Color Line Dot Bowls
Make these sweet dotted bowls with Color Line Paints and the simplest of tools! To get started, layer two 4.75˝ circles of colorful 3 mm sheet combinations and fire to…
-
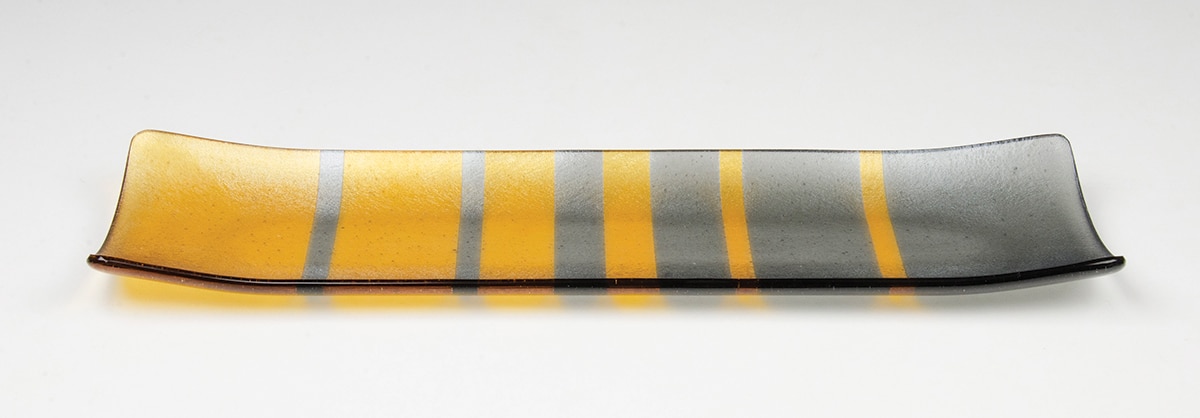
Quick Tip: Fibonacci Fade Plate
Combine mathematics and metallics to create this handsome design! What is the Fibonacci Sequence? The Fibonacci sequence is a numbering system found in nature, from flower petals and pinecones to…
-
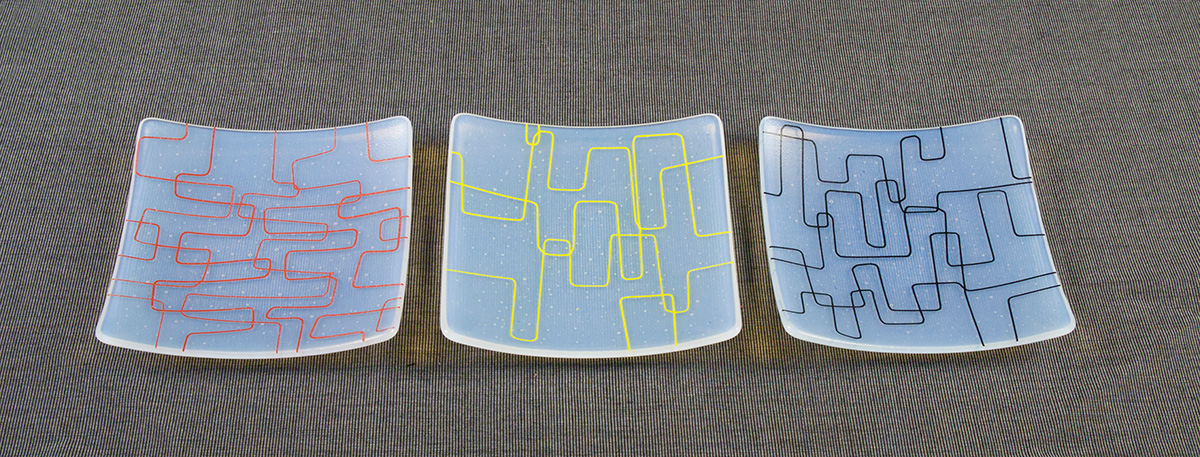
Quick Tip: Fine Lines
Candle-bent Fine Line Stringers bring a lean line quality to this Mid-Century inspired design. Bend the Stringer Holding the stringer with thumbs and forefingers, place the spot you want to…
-
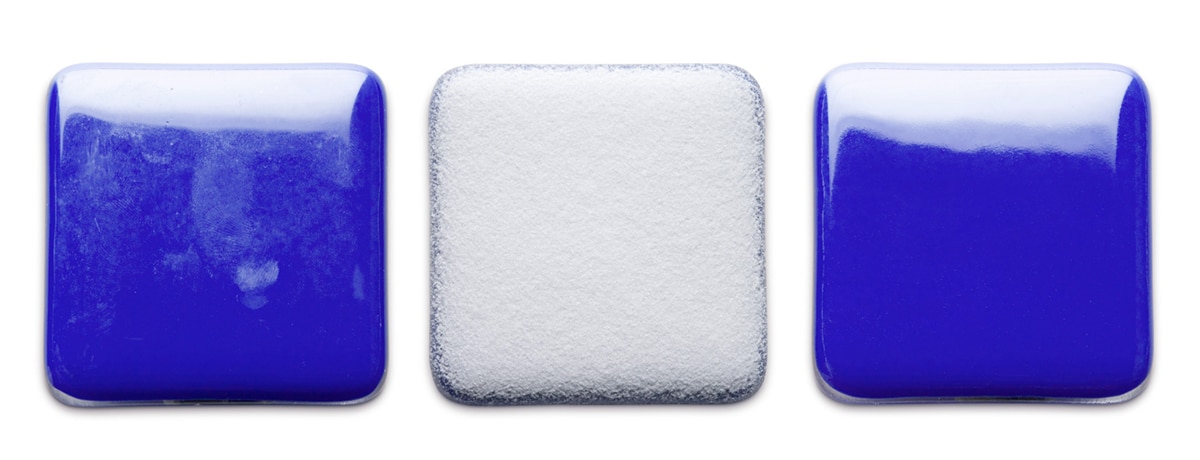
Quick Tip: Fix Surface Flaws
The growth of crystals on glass, aka, devitrification, aka, devit, is not that common or easy to create. But, if devit does appear on your fired glass, there are several…
-
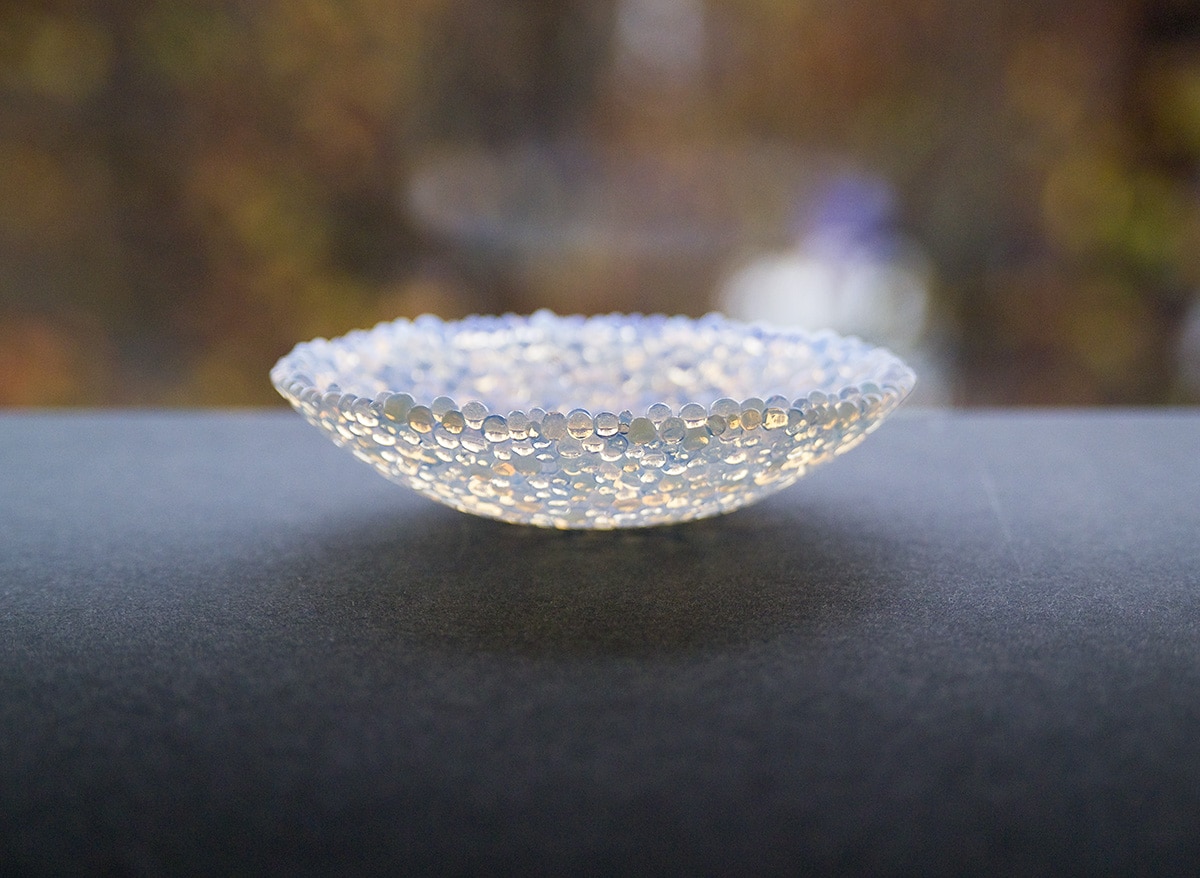
Quick Tip: Frit Balls
Easy to make and fun to use. Scatter pieces of coarse frit (-0003) on a freshly primed kiln shelf and adjust them with tweezers, leaving space around each piece. Fire…
-
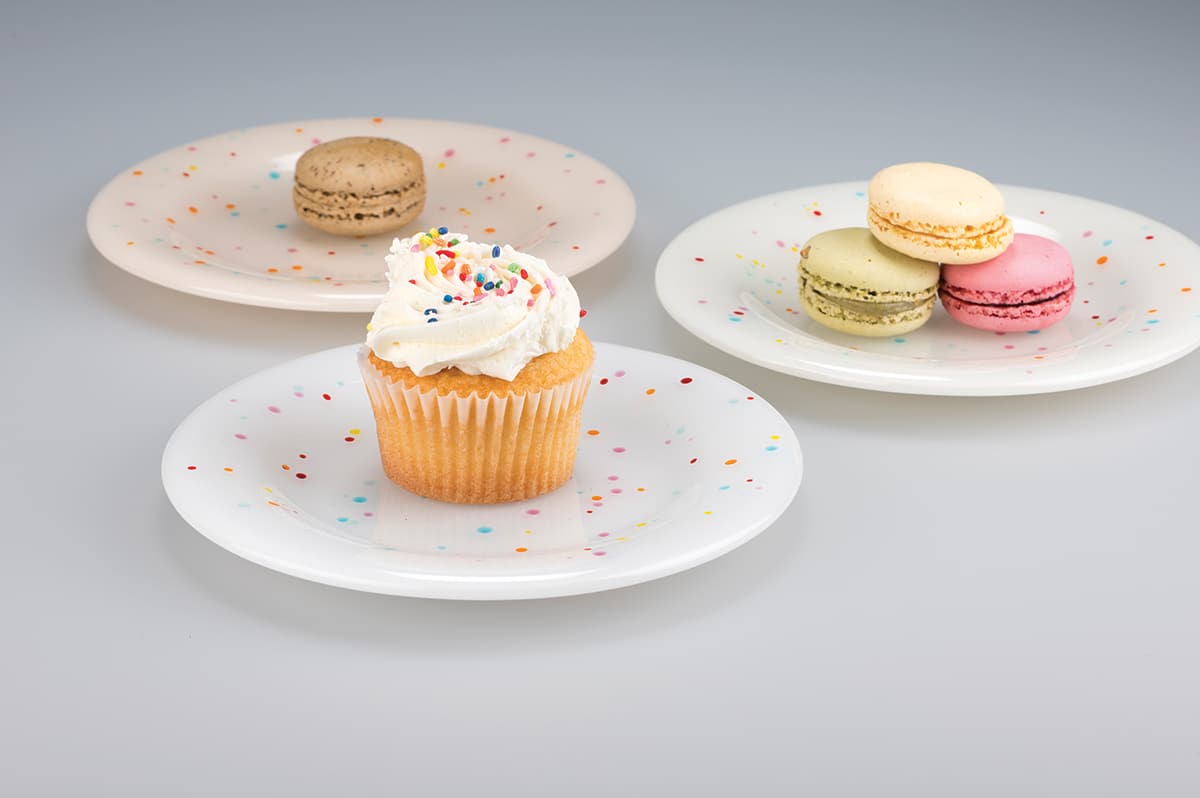
Quick Tip: Fritfetti
Say YES to sprinkles! Steps (4 firings) Making Mini frit Balls The secret to the small dots is to make them with Medium (-0002) Frit. Guidelines include firing on a…
-
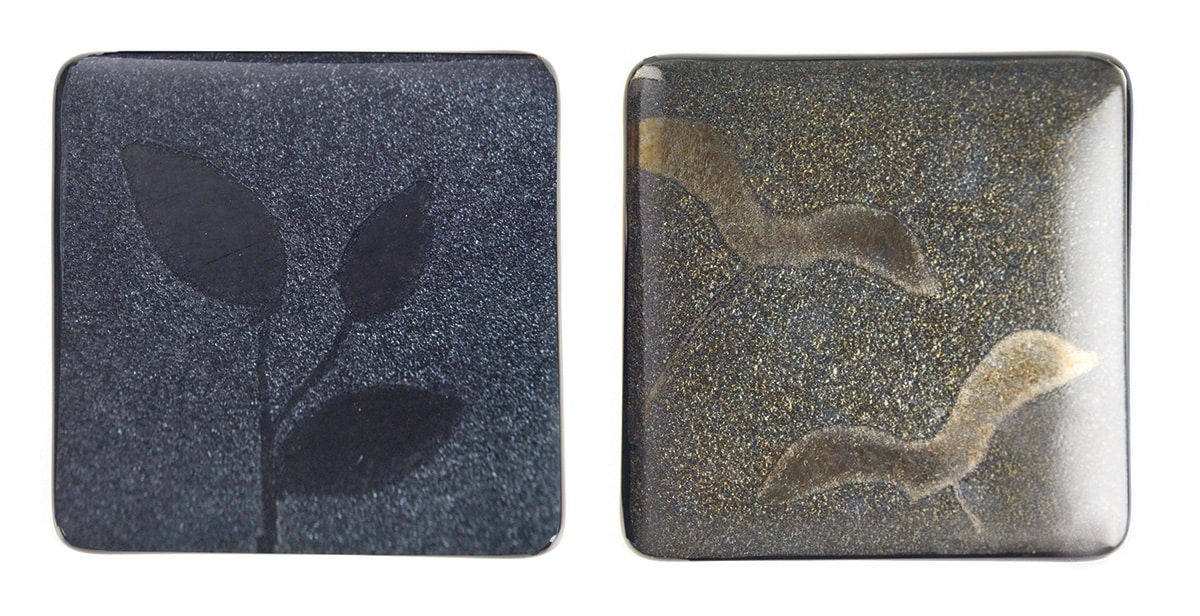
Quick Tip: Glimmering, Shimmering Irids
Gold and Silver Irid + Clear Powder = Shimmering Glass In the tiles above, powdered and exposed iridescent surfaces catch and reflect light differently, producing subtle glimmering effects To make…
-
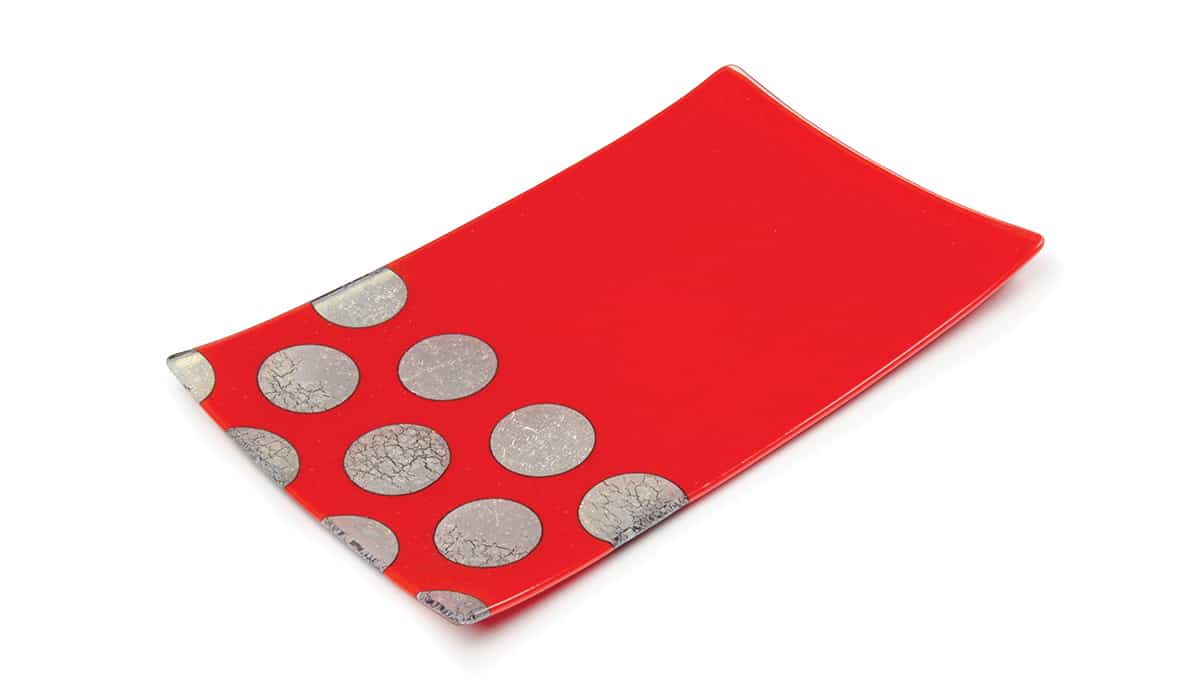
Quick Tip: Holiday Punch
For a festive feel, break out the punch! (The paper punch, that is.) Combine punched silver foil design elements with Tomato Red Opal for something truly festive. The Details Arrange…
-
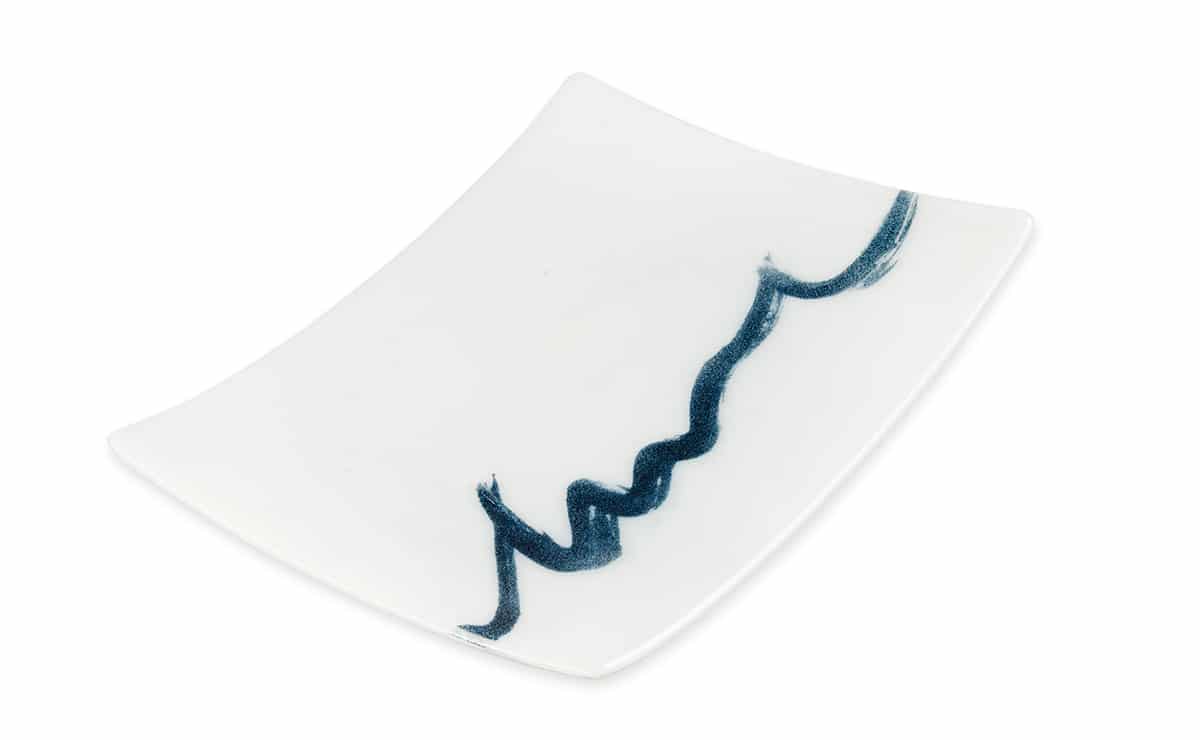
Quick Tip: Inky Blue Brush Strokes
Combine GlasTac and Aventurine Blue Powder to create gestural brush strokes. Think of sumi-e and other East Asian styles of brush painting and calligraphy. Here’s How it Works Using a…
-
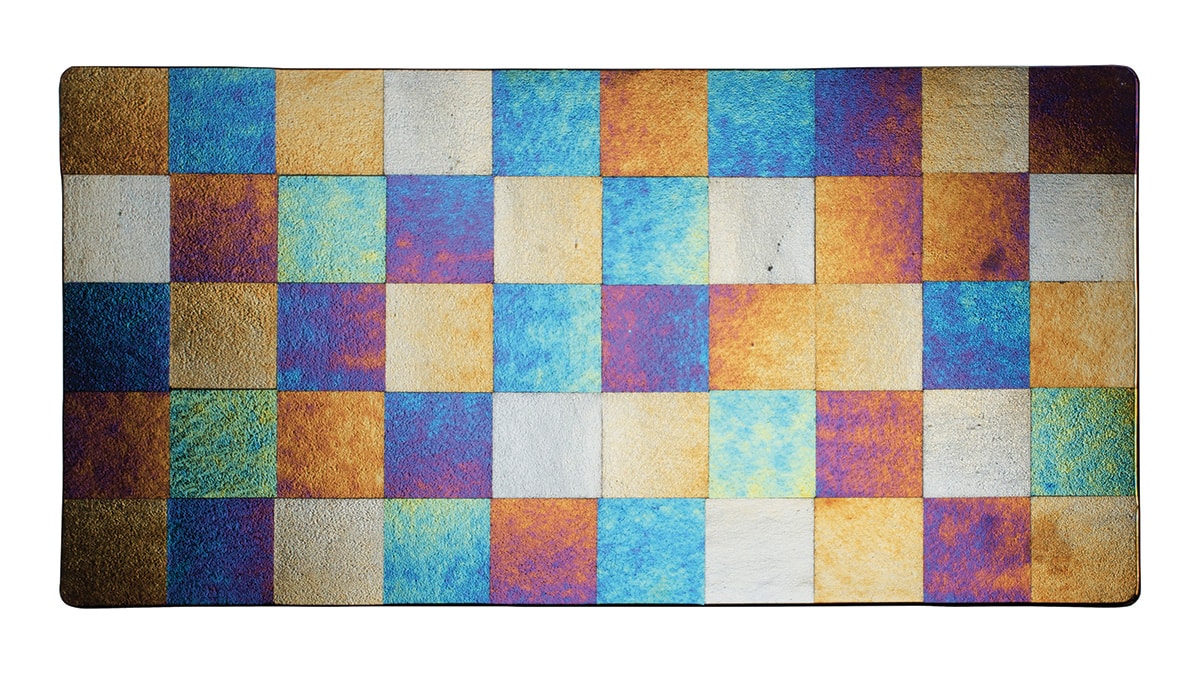
Quick Tip: Iridescent Squares
Transform a single sheet of Rainbow Iridescent glass into shimmering mosaic design. The Details Start with a 3 mm sheet of a saturated transparent color (or black) with a Rainbow…
-
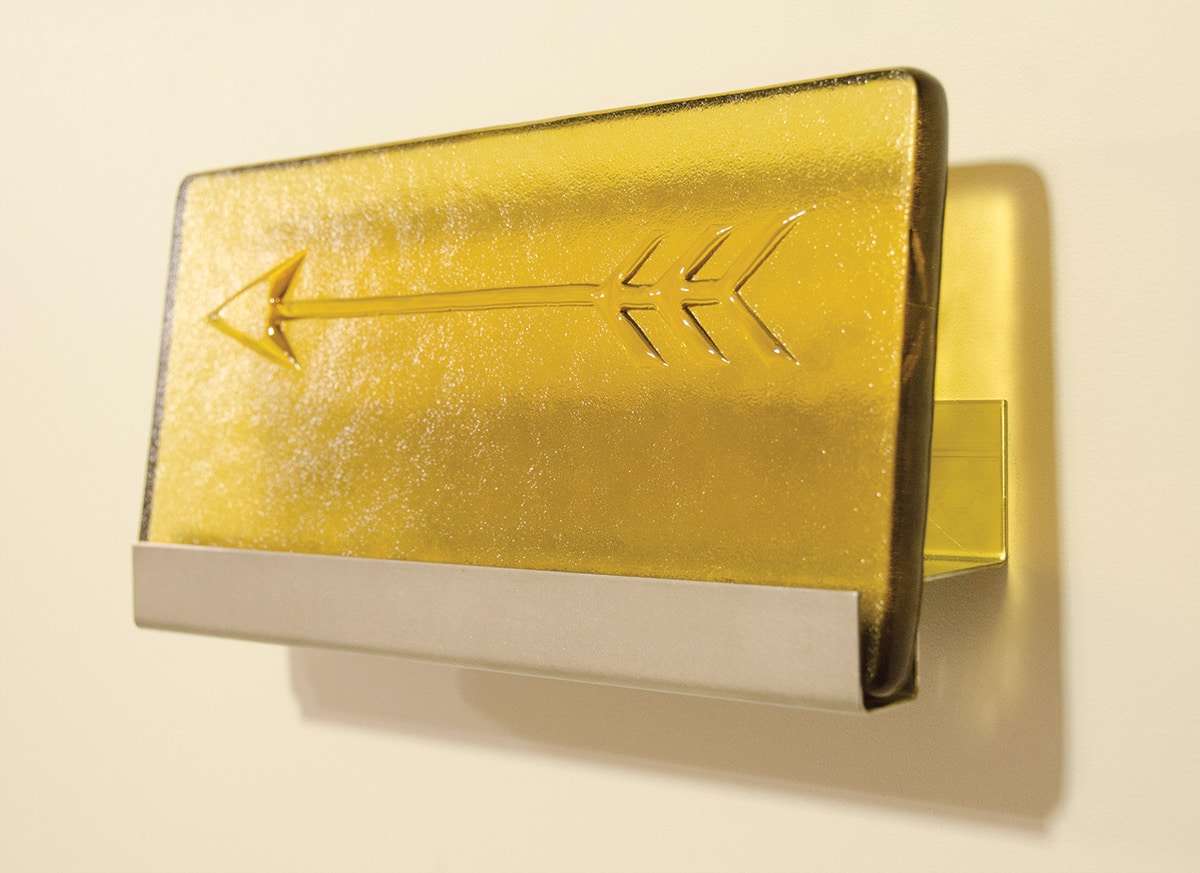
Quick Tip: Kilncarved Billet
Create a textured block of glass using ceramic fiber paper, a billet, and the right amount of heat! Design with Texture In the kiln, the billet conforms to your fiber…
-
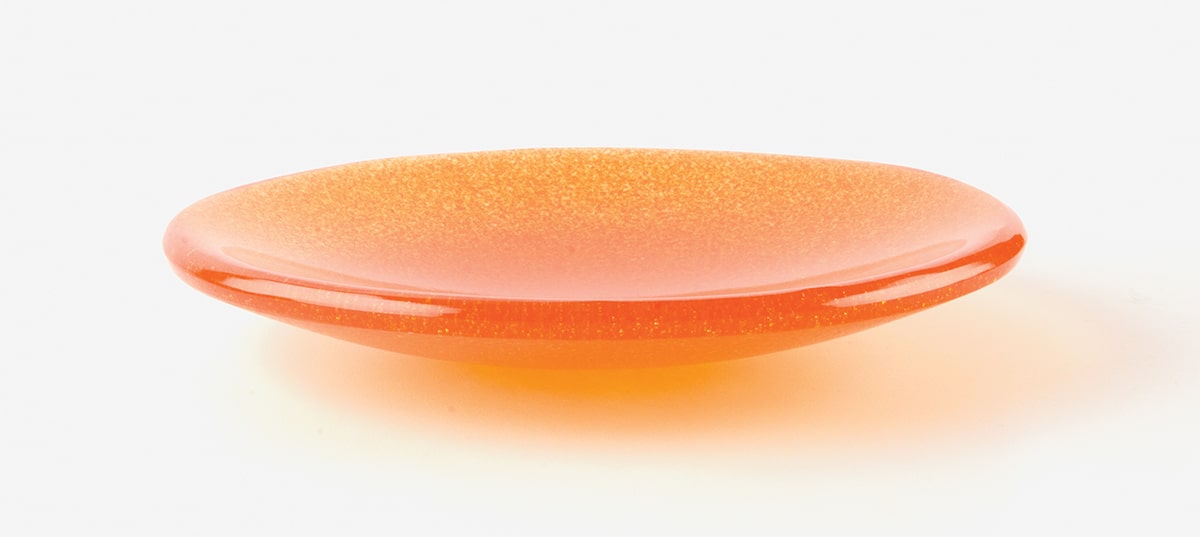
Quick Tip: Kilncast and Slumped Bowl
Get experience in volume calculation, frit tinting, and more as you create a kilncast disc from a frit and powder mixture, coldwork the edges, and slump it into a graceful…
-
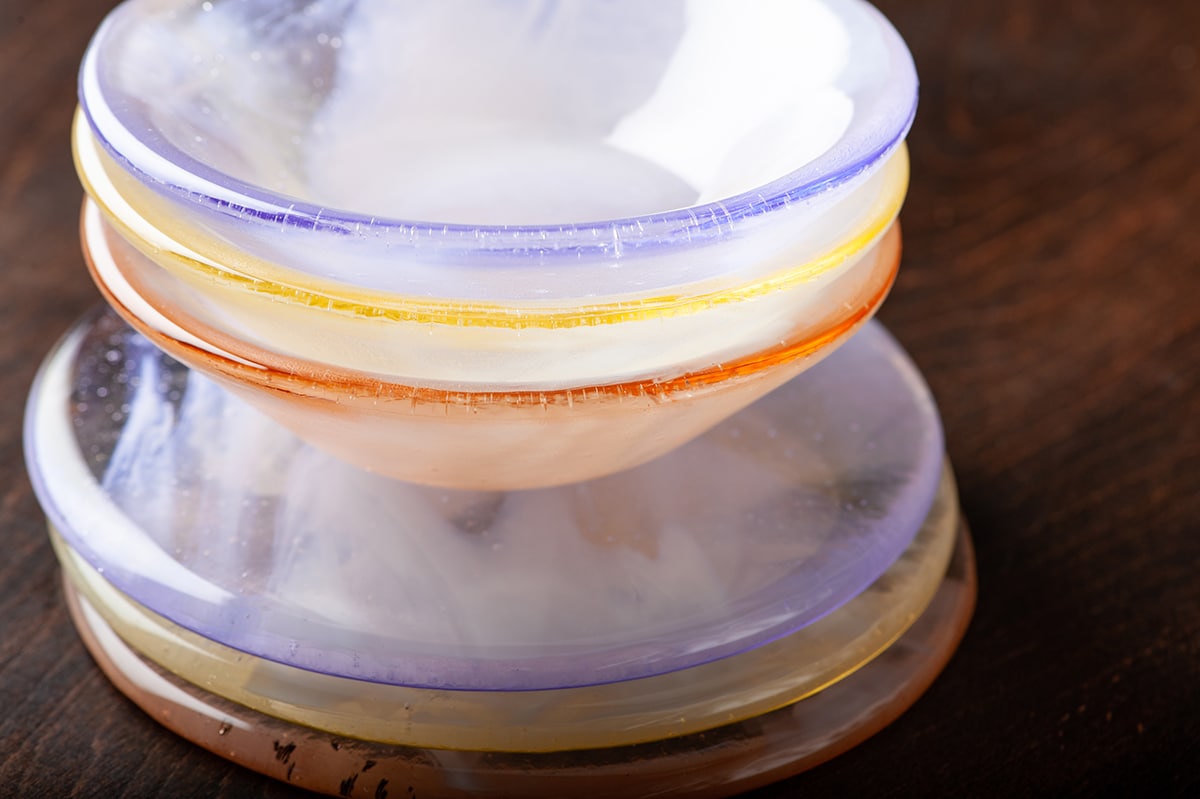
Quick Tip: Little Wisp Bowls
Wisps of White and Clear, let the color shine through. Create your own streaky color palette. Layer Clear and White Streaky sheet glass over transparent tint glass styles. Slump in…
-
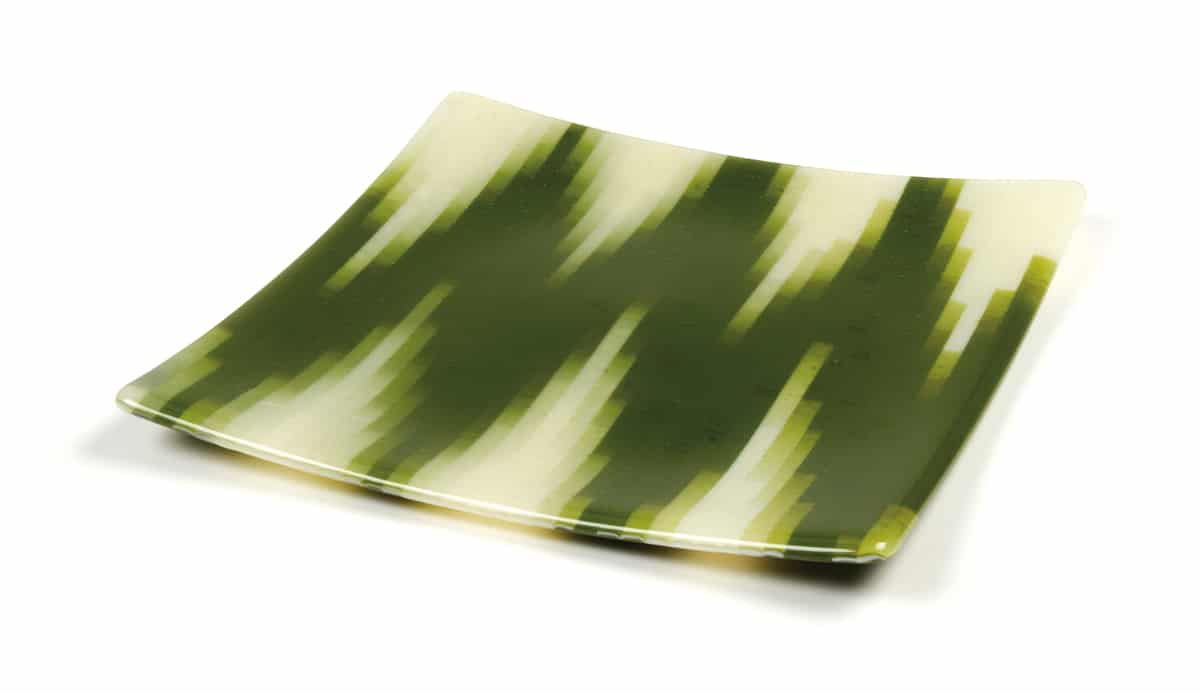
Quick Tip: Making a Chevron Design
Making this chevron plate is a snap with Cascade sheet glass. Steps Tip Materials
-
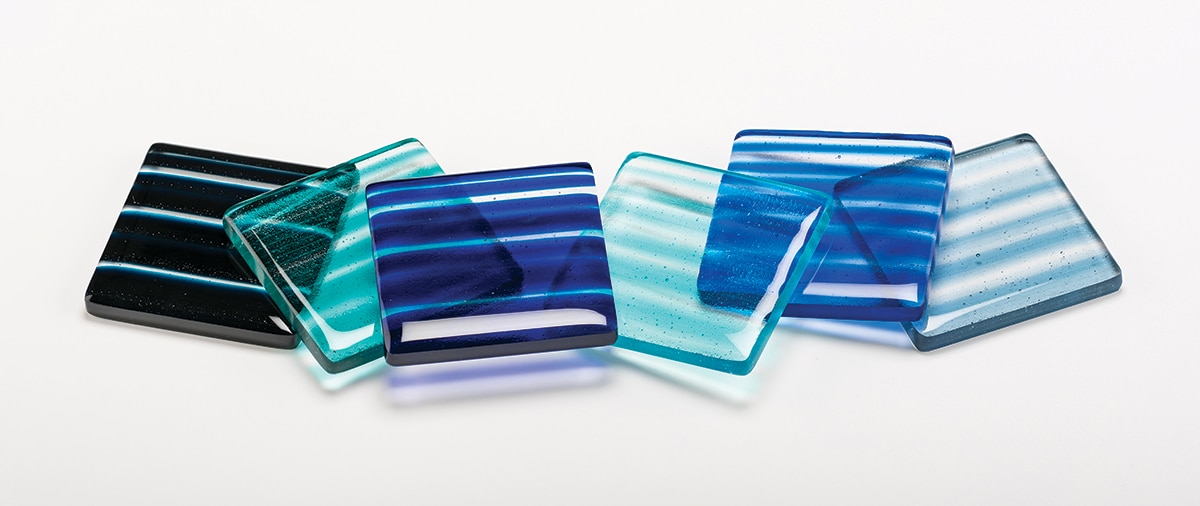
Quick Tip: On the Edge with Transparents
Transparents transform with on-edge strip construction. Cut 3 mm sheet glass into 1 cm wide strips, turn those on edge, and—presto!—color saturation increases. In the pairings below, notice how the…
-
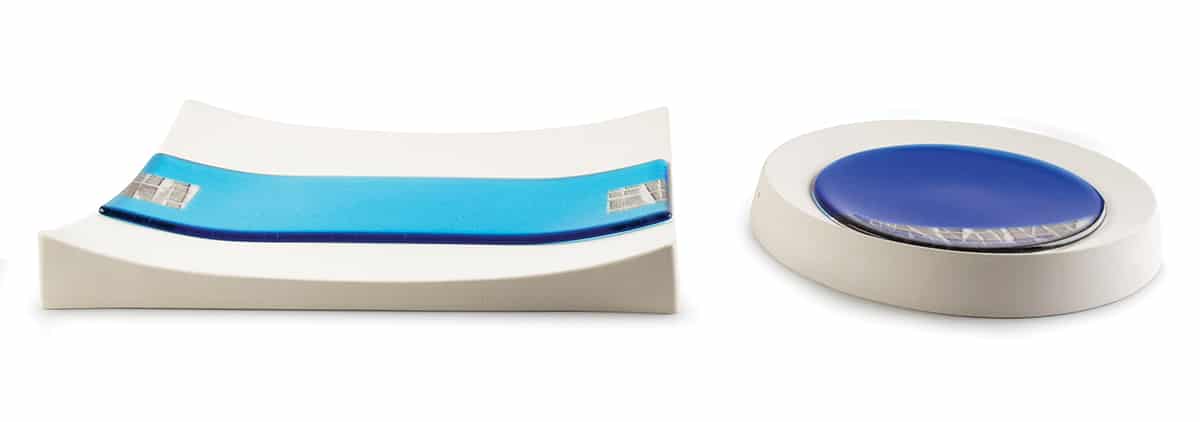
Quick Tip: Multitasking Molds
There is more than meets the eye with some slumping molds. They can certainly be used to form pieces that utilize the entire surface, but consider the options when slumping…
-
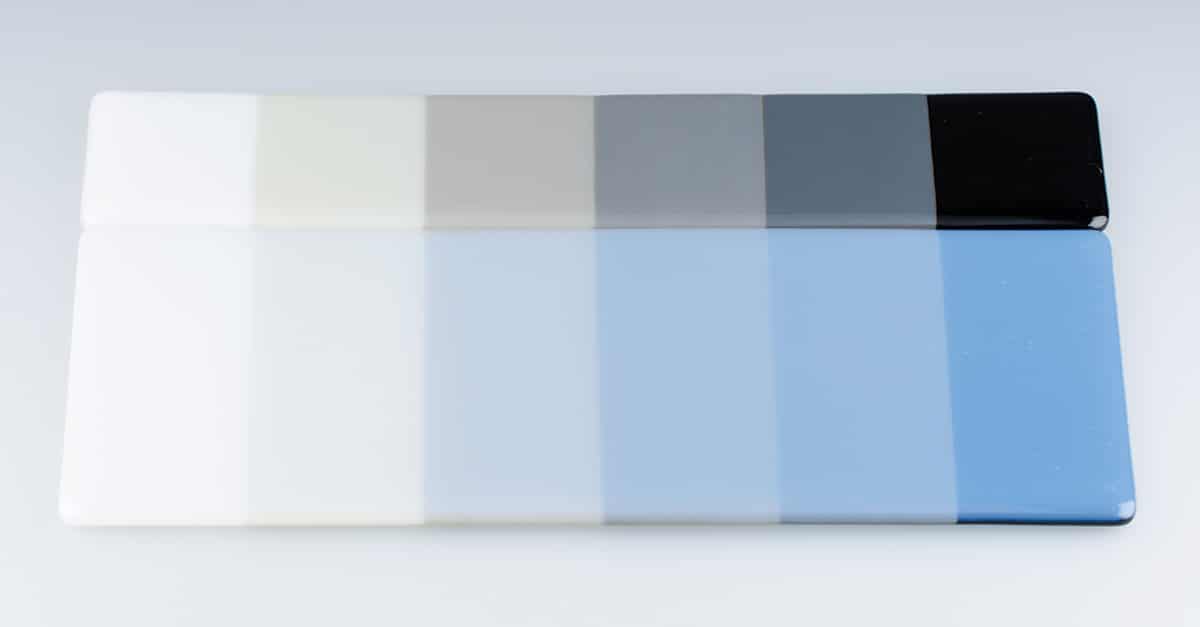
Quick Tip: Opaline Overlays
Opaline sheet glass. Amazing on its own; plays nicely with others. As in its a great tool to expand your color palette in kilnforming, creating new colors with distinct properties.…
-
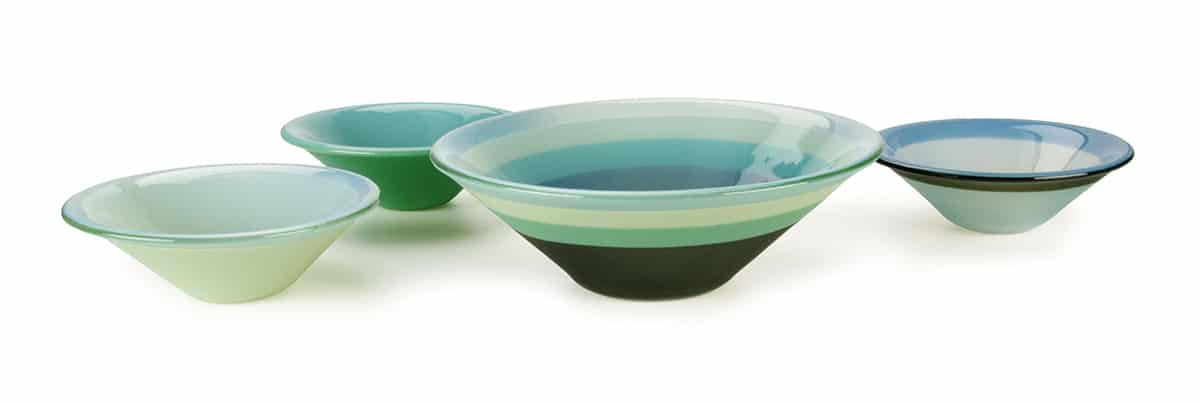
Quick Tip: Put a Ring on It
Explore the possibilities of a palette of green rings capped with Opaline! As an overlay, Opaline scatters light for a dramatic impact on base colors. Note the blue hue it…
-
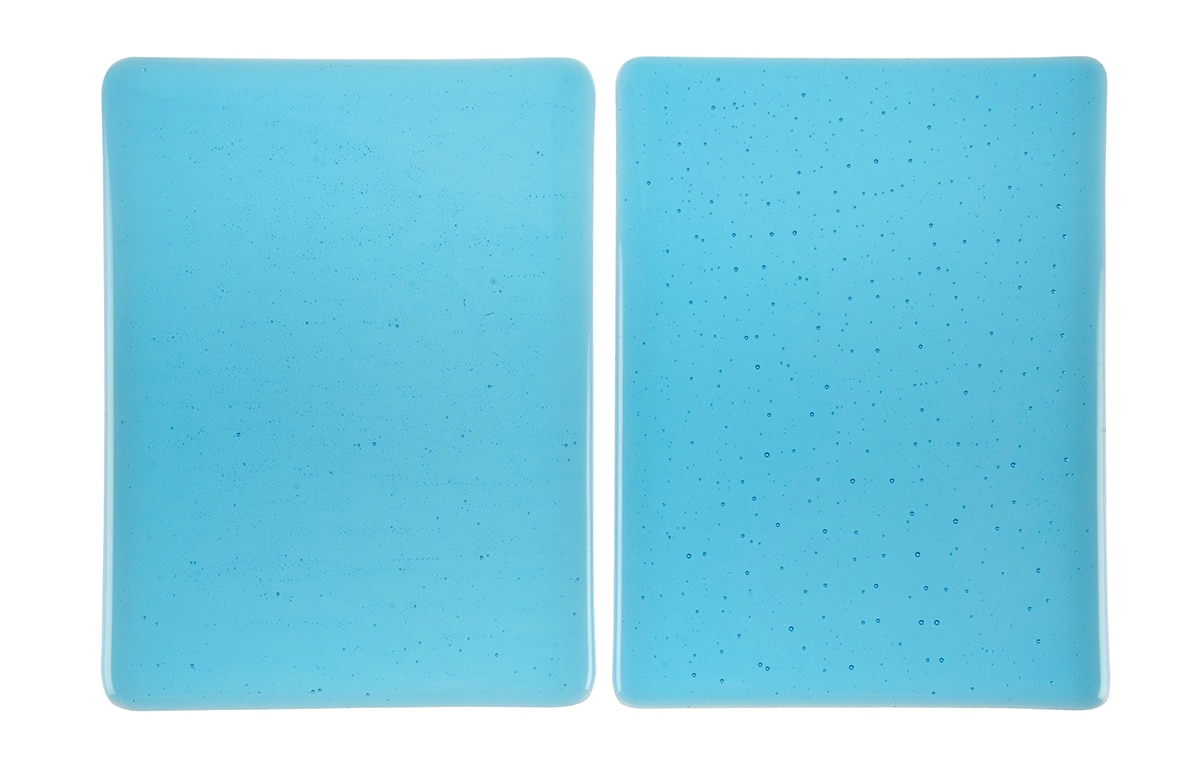
Quick Tip: Powder Power
Want to minimize the look of bubbles in fused pieces? This technique used in kilnforming circles for many years has also worked well for us. Add a light application of…
-
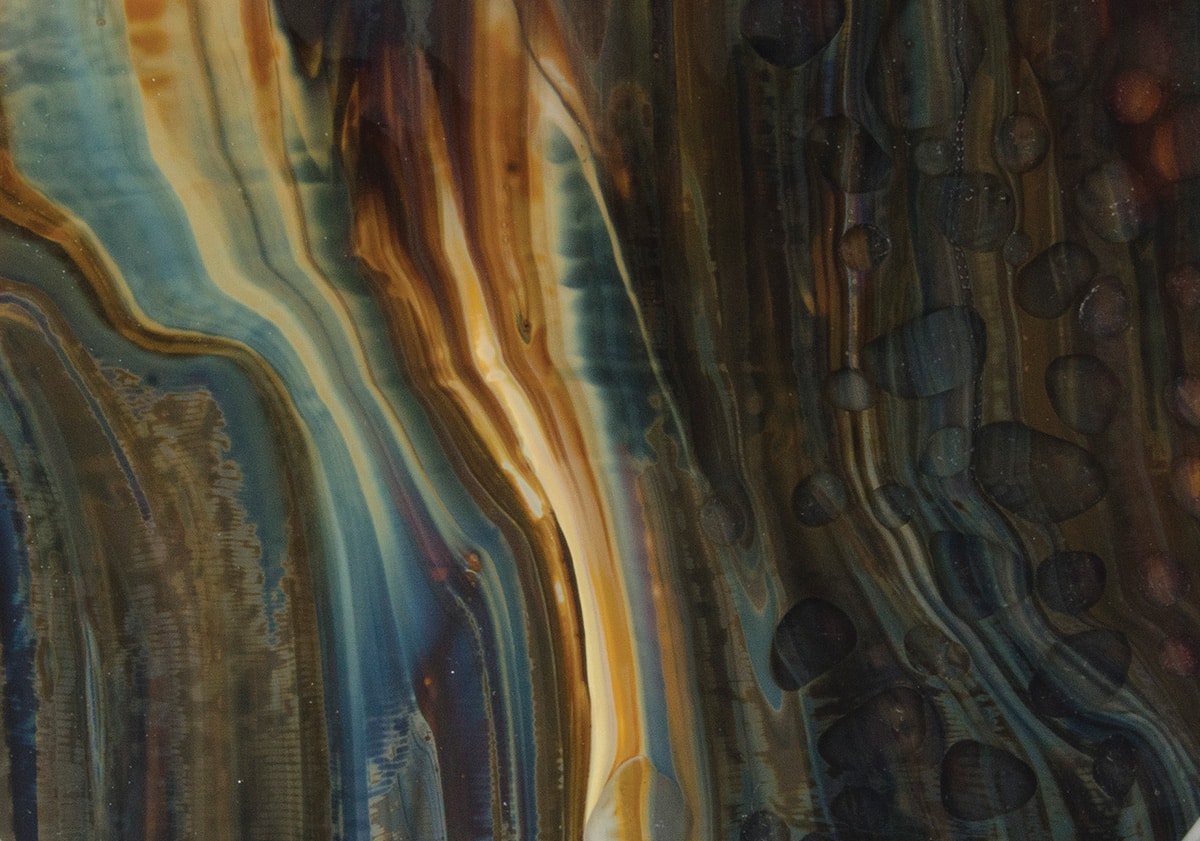
Quick Tip: Petrified Wood
Petrified Wood is Bullseye’s magical unicorn streaky. Its unique combination of glasses results in dramatic internal reactions at full-fuse temperatures. Here are two ideas for making this glass sing. Copper…
-
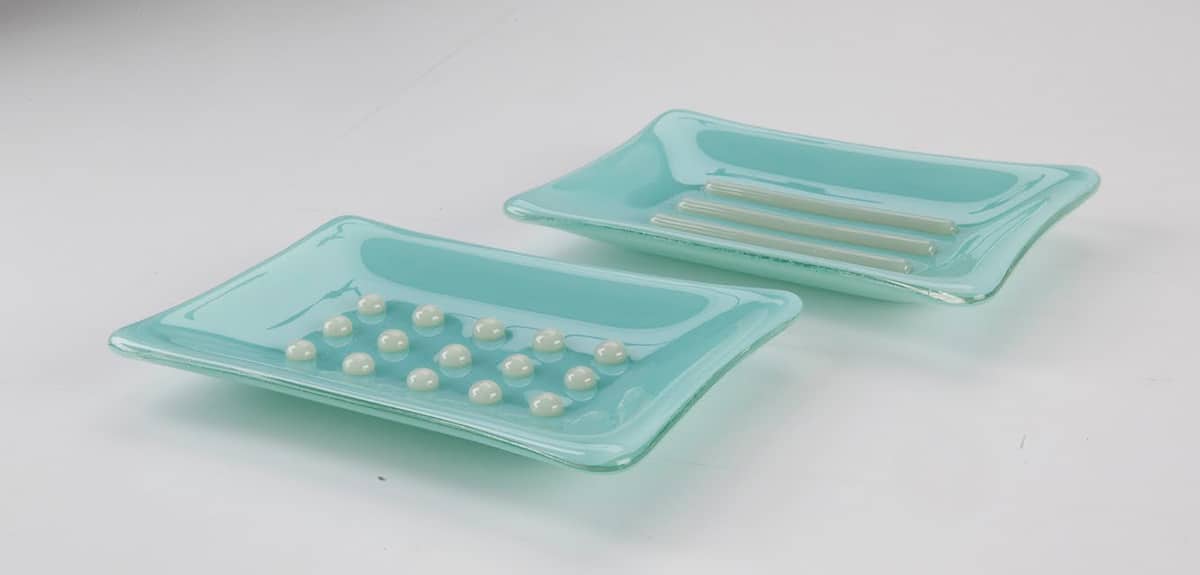
Quick Tip: Raise the Bar on Your Soap Dish
Add an accent color and functionality to a soap dish with fusible rods. We paired Robin’s Egg Blue Opalescent with Driftwood Gray rod, but you could use any combination. Steps…
-
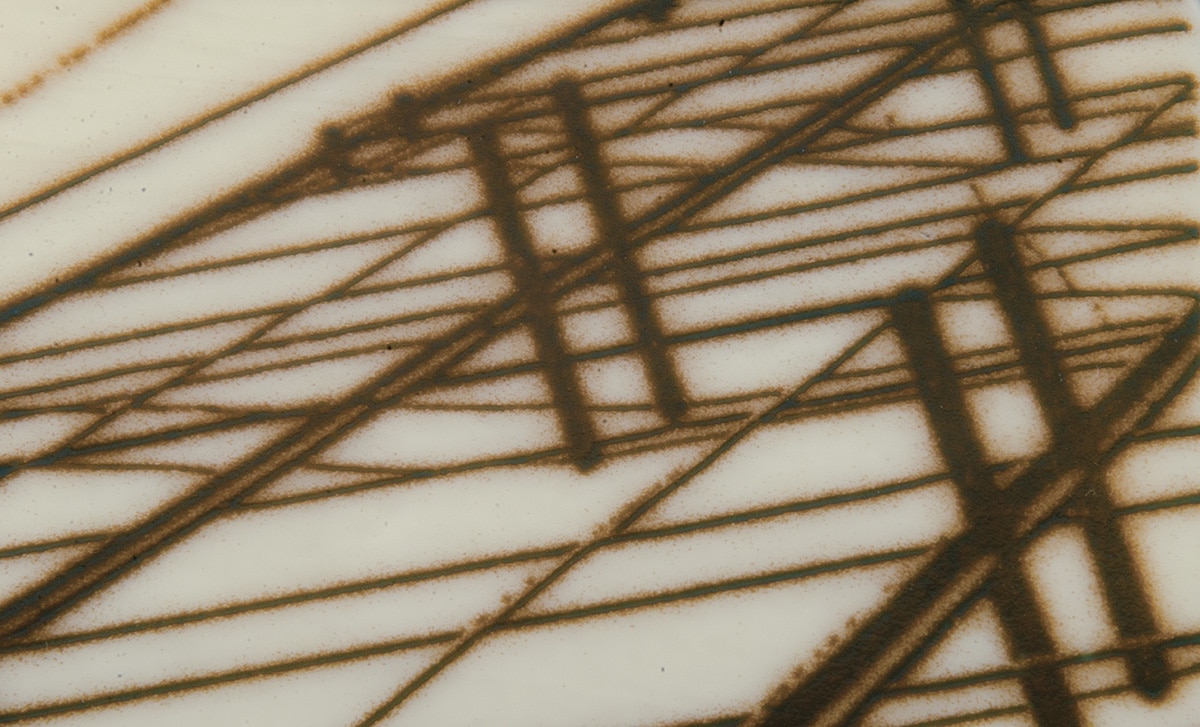
Quick Tip: Reaction Action
When certain Bullseye glasses are fired in contact with one another, their chemistries interact to create varied effects. This article details some of our favorite reactions. Reactive Combinations Resources
-
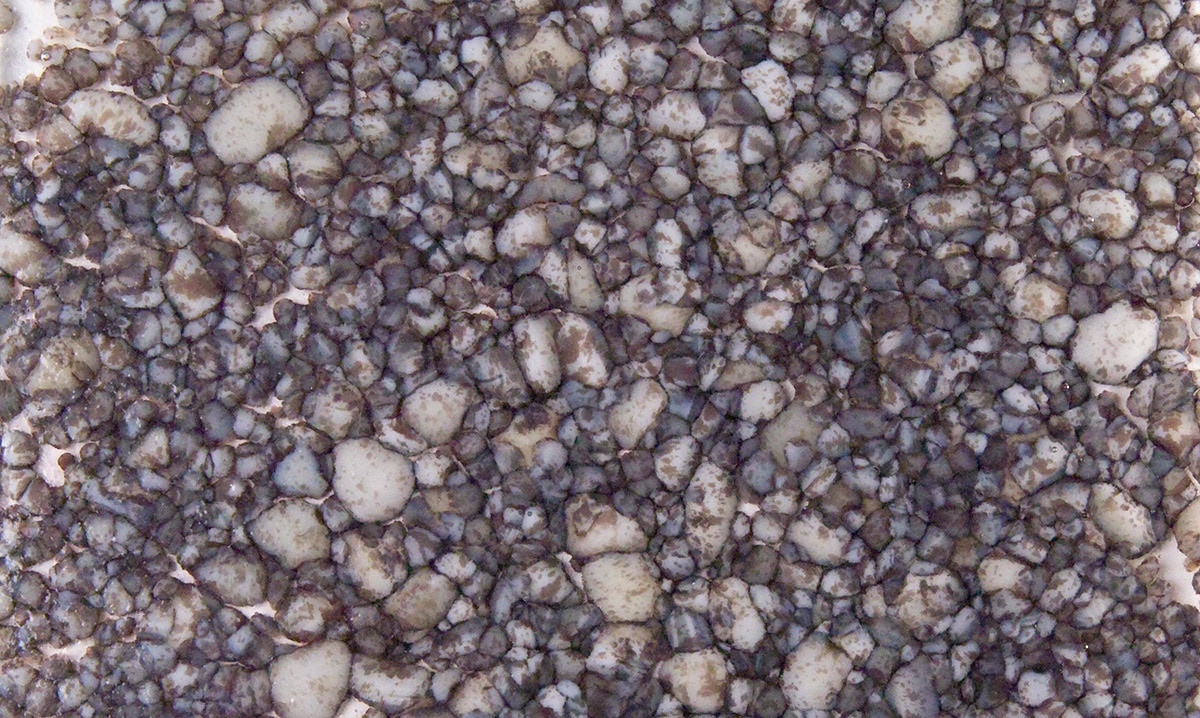
Quick Tip: River Rock Reaction
Make a part sheet with stony effects! REACTIVITY IS KEY to achieving the pebbly look of the part sheet featured here. Under kiln heat, sulfur-bearing frits react with lead-bearing powder…
-
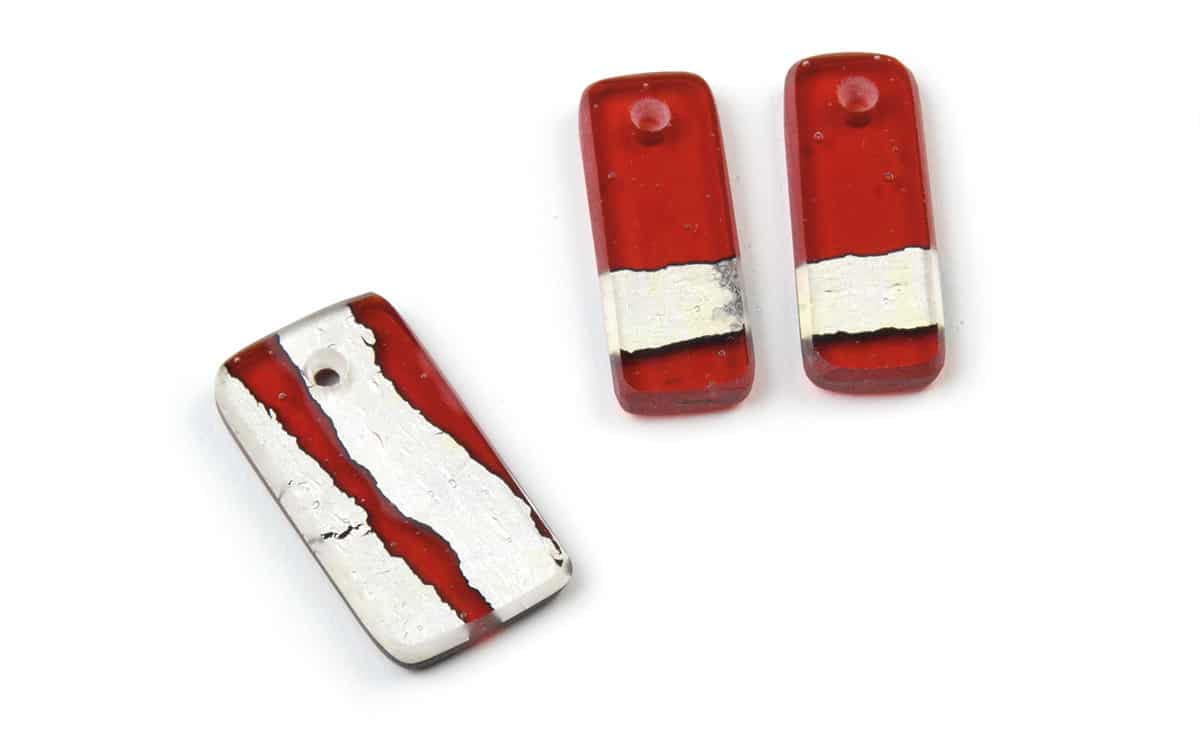
Quick Tip: Silver Stripe Jewelry
Wearable glass with flash! It’s all in the details—torn silver paired with candy apple red, and drilled holes for stringing. Steps
-
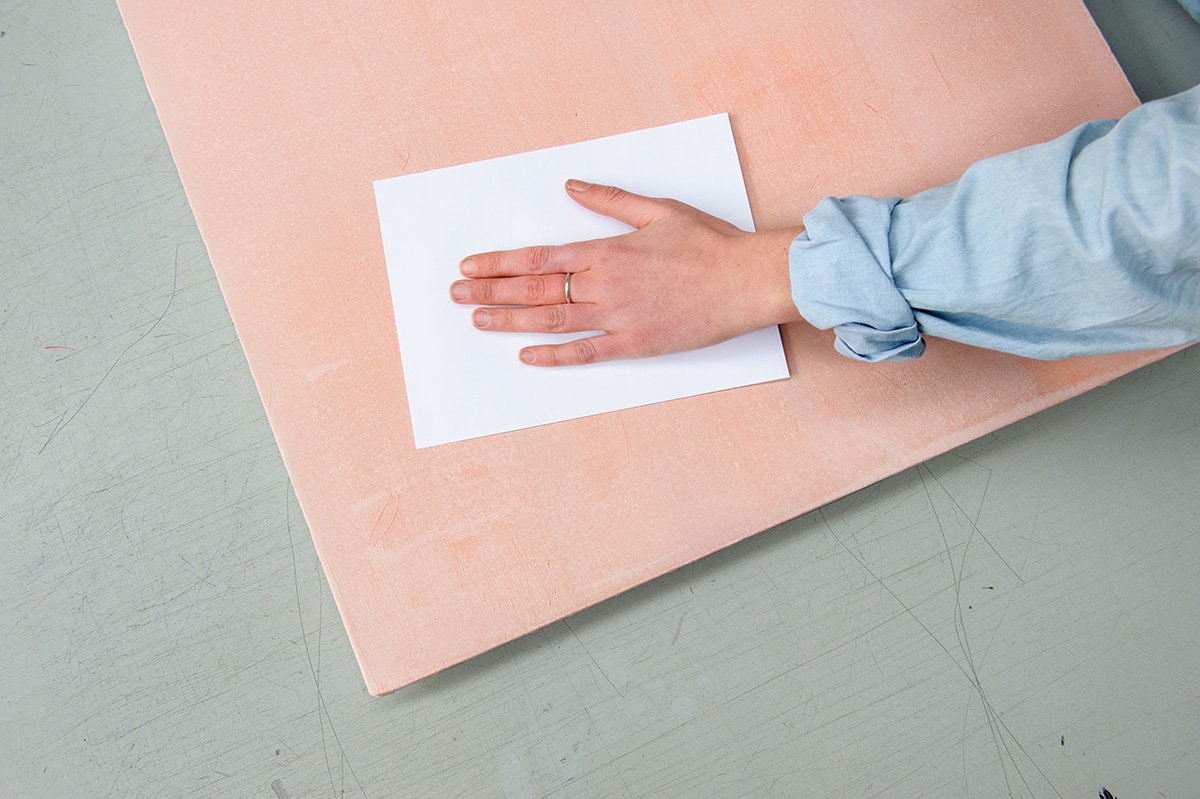
Quick Tip: Smooth It Out
Create a smooth, uniform surface on the shelf-side of your fired work. The Details Recommended Resources
-
Quick Tip: Sparkle, Sparkle
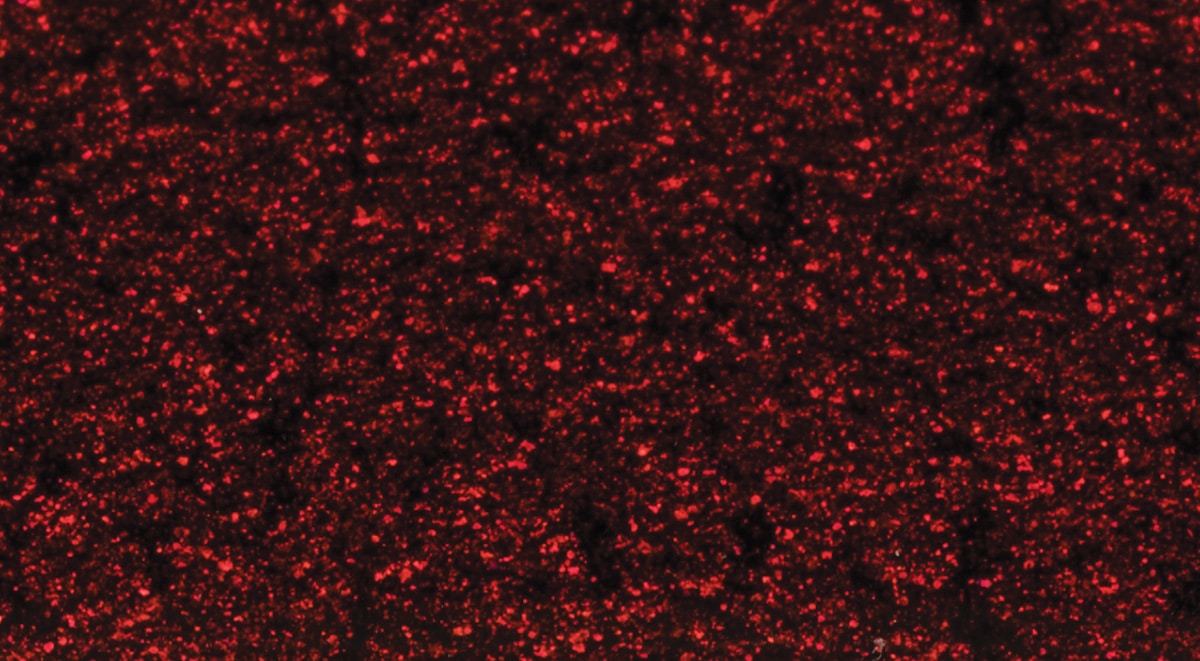
Create hues with sparkle and depth. Did you ever wonder why Bullseye doesn’t make an Aventurine version of other colors, like red, for example? We would if we could! The…
-
Quick Tip: Get the Look with Stripes and Dots
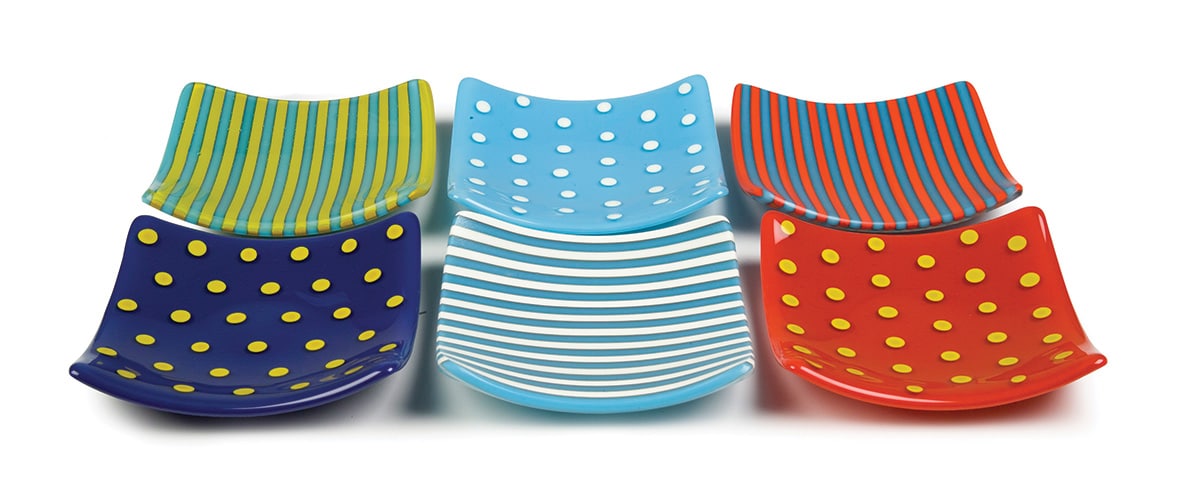
Rods are a natural choice for easy stripes and dots. We found this summer-themed nautical palette of opalescents fresh and irresistible for mixing and matching. Stripes Use a complete layer…
-
Quick Tip: Tint Overlay Palette
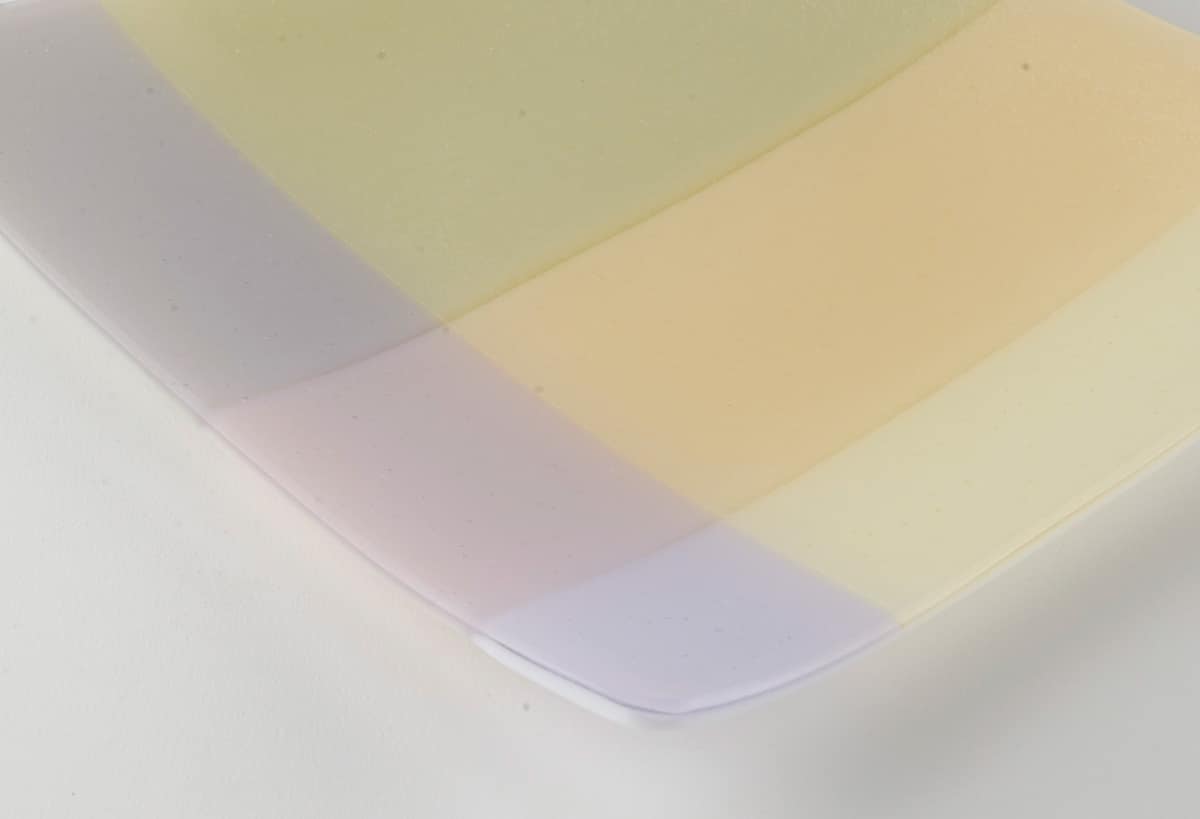
Create this soft, dreamy palette by layering tint styles over neutral opalescent styles. Tints: Pale Yellow Tint (001820-0030), Purple Blue Tint (001948-0030)Opalescents: Light Peach Cream (000034-0030), White (000113-0030), Driftwood Gray…
-
Make-It Project: Dilution Solution
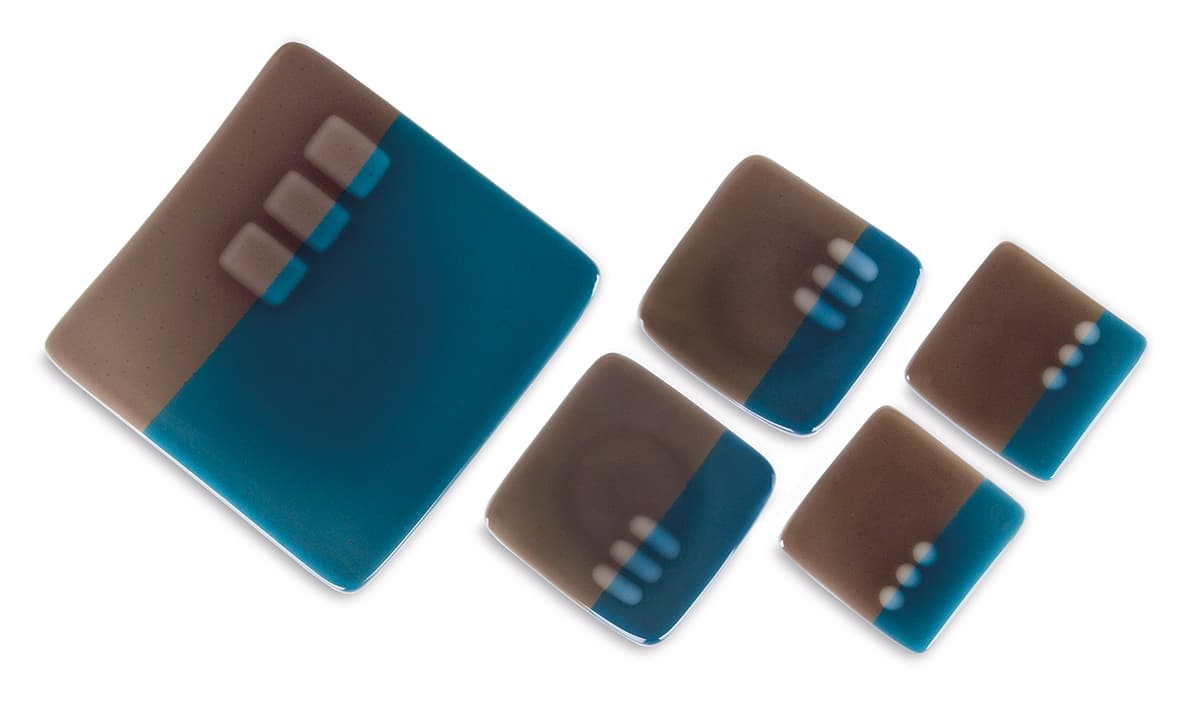
Explore design possibilities with the property of displacement. How This Project Works Significant amounts of clear sheet and rod are fired over a palette of mediumsaturation sheet to displace the…
-
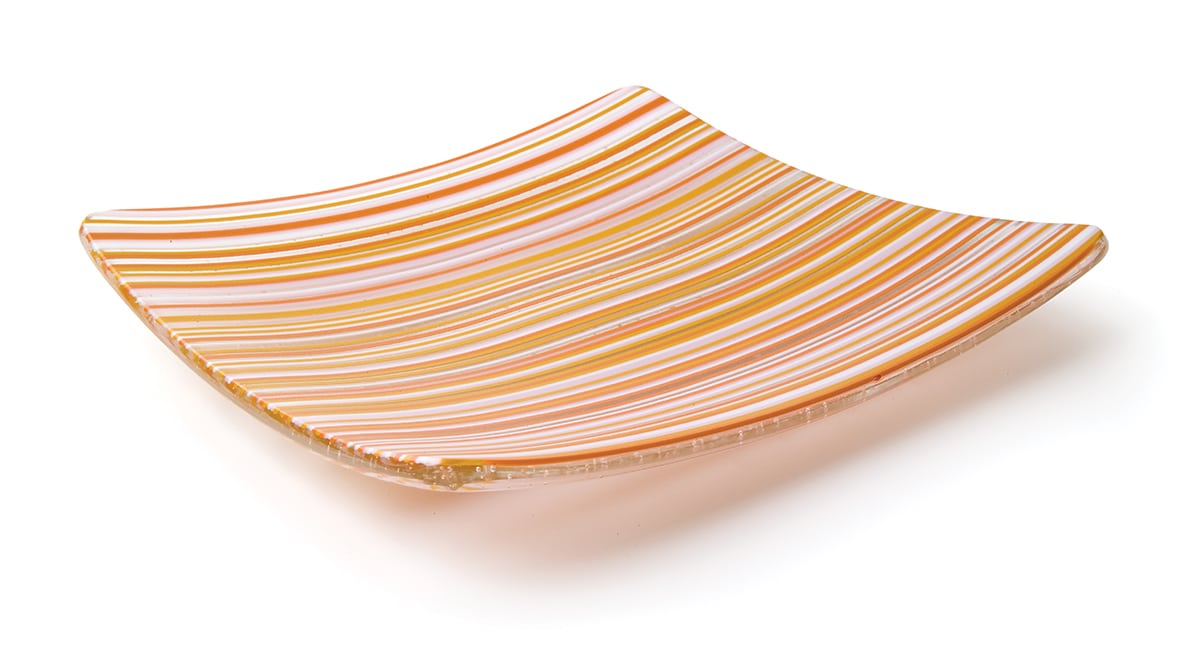
Make-It Project: Inline Plate
Bold designs using just stringer and clear sheet glass! Prepare the Sheet Glass Prepare the Stringer Download the article to complete the project.
-
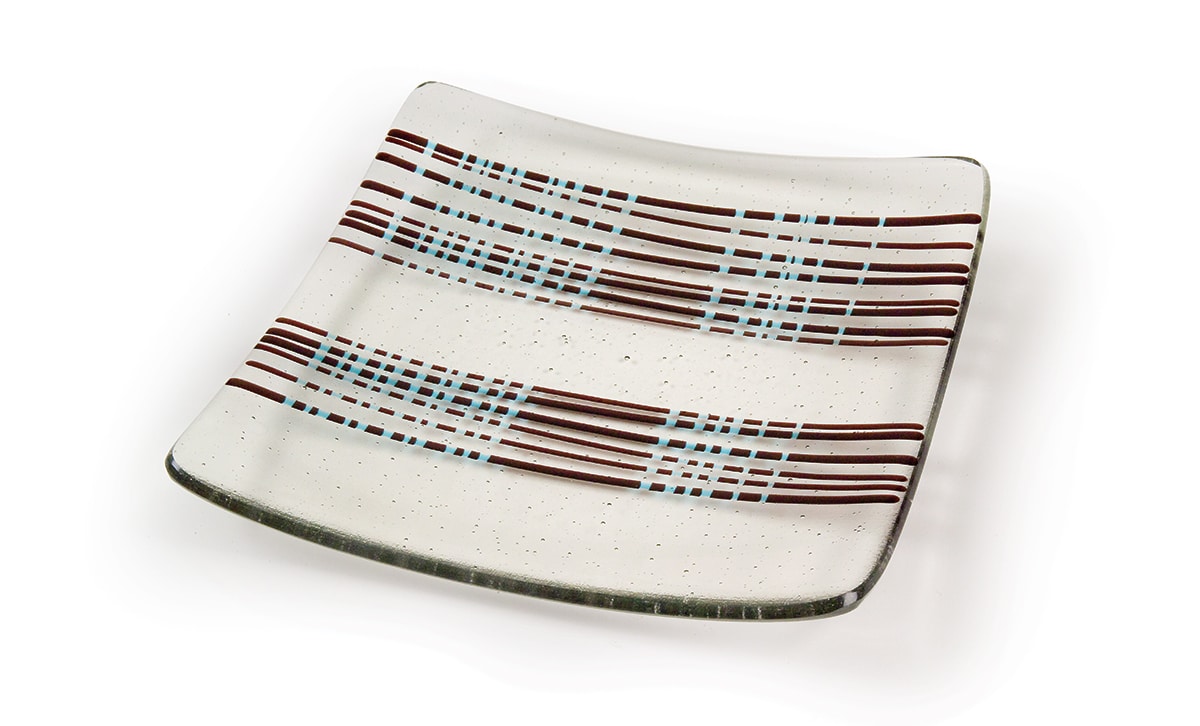
Make-It Project: Linear Reaction
Create refined and delicate cross-hatching with reactions! How this project Works Clear stringers act as a barrier (or resist) between the reactive sheet glass and copper-bearing Turquoise stringers. Where a…
-
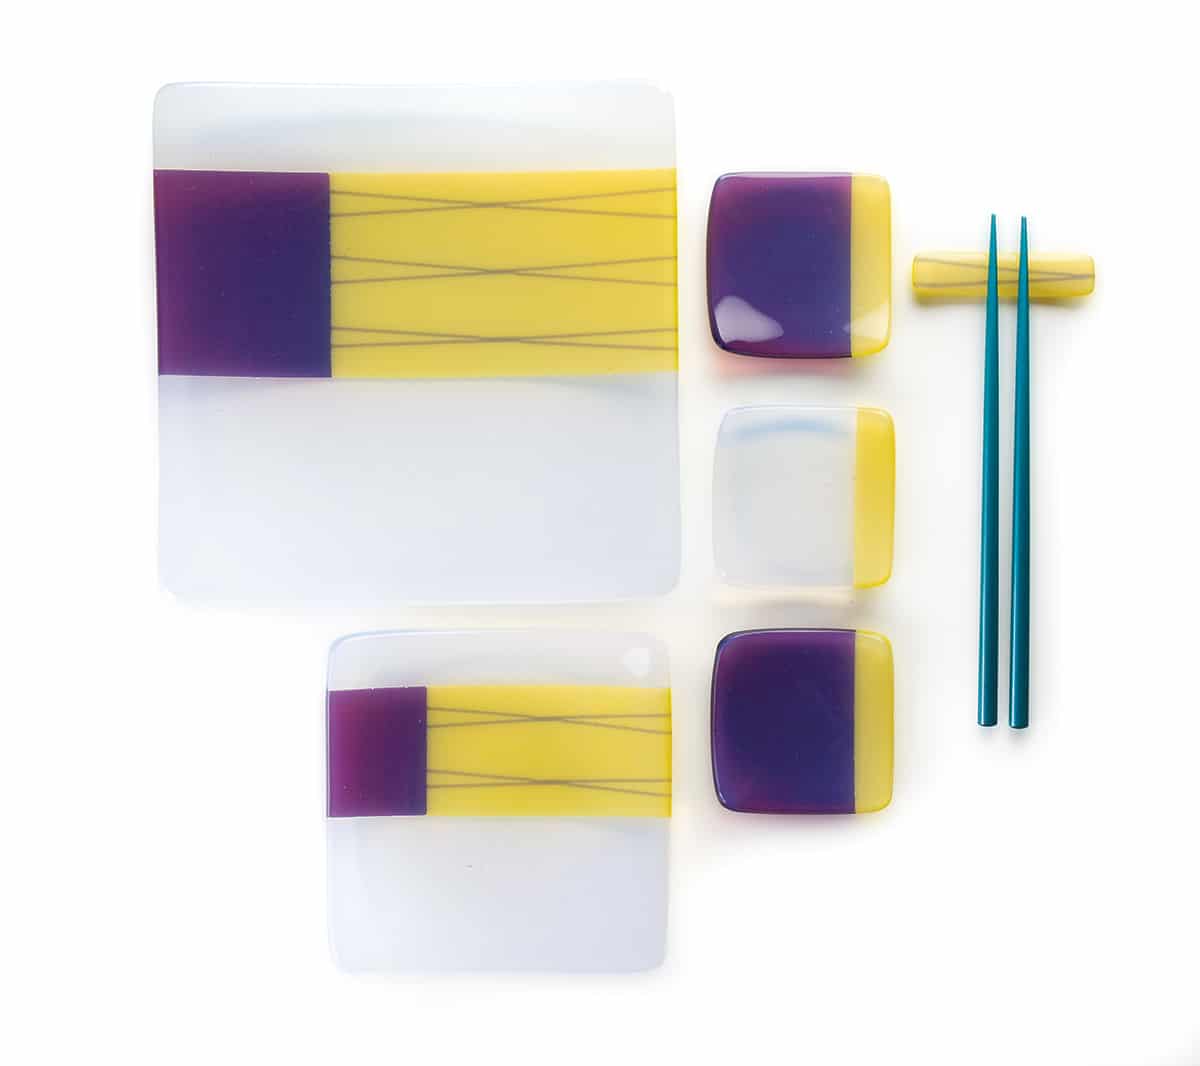
Make-It Project: Opaline Sushi Set
Wow your friends and showcase your favorite bites with this luminescent set. How this project Works Opaline Striker transforms Canary Yellow and Fuchsia into an exciting, modern palette with unique…
-
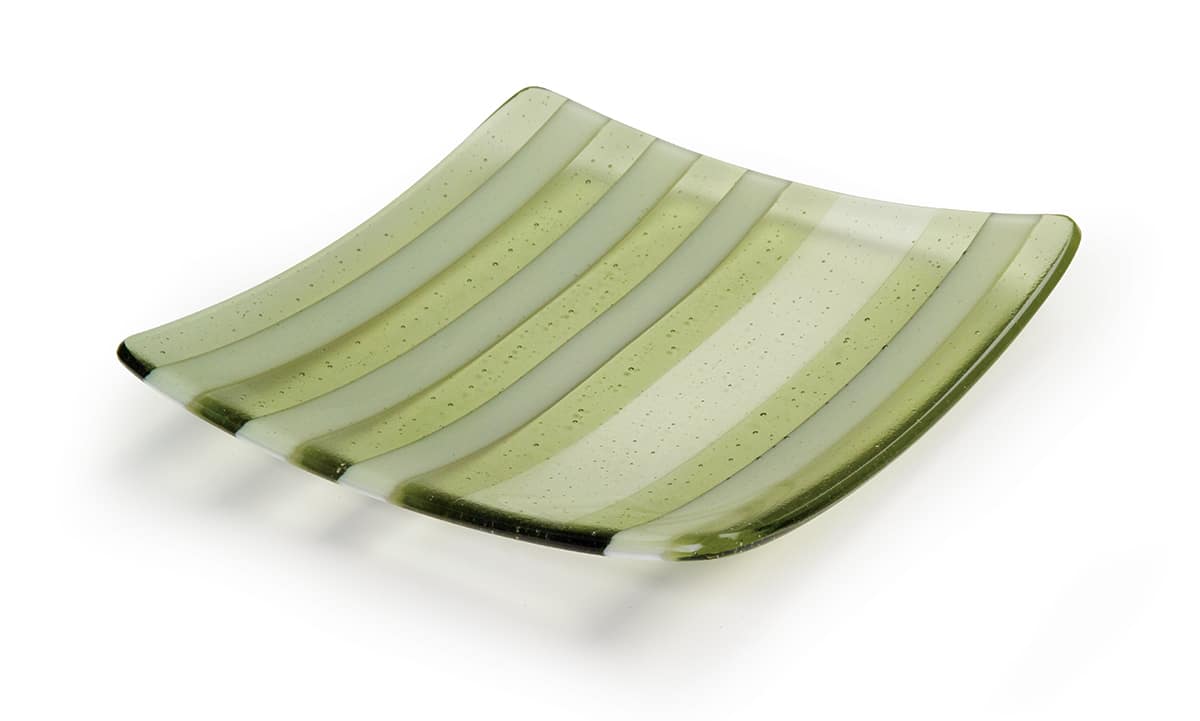
Make-It Project: Tint Tone Plate
Create a series of plates with subtle color design shifts using Bullseye Tints. Why this project Works This design is tailor-made for transparent glass styles with light color saturation like…
-
Alchemy Glasses
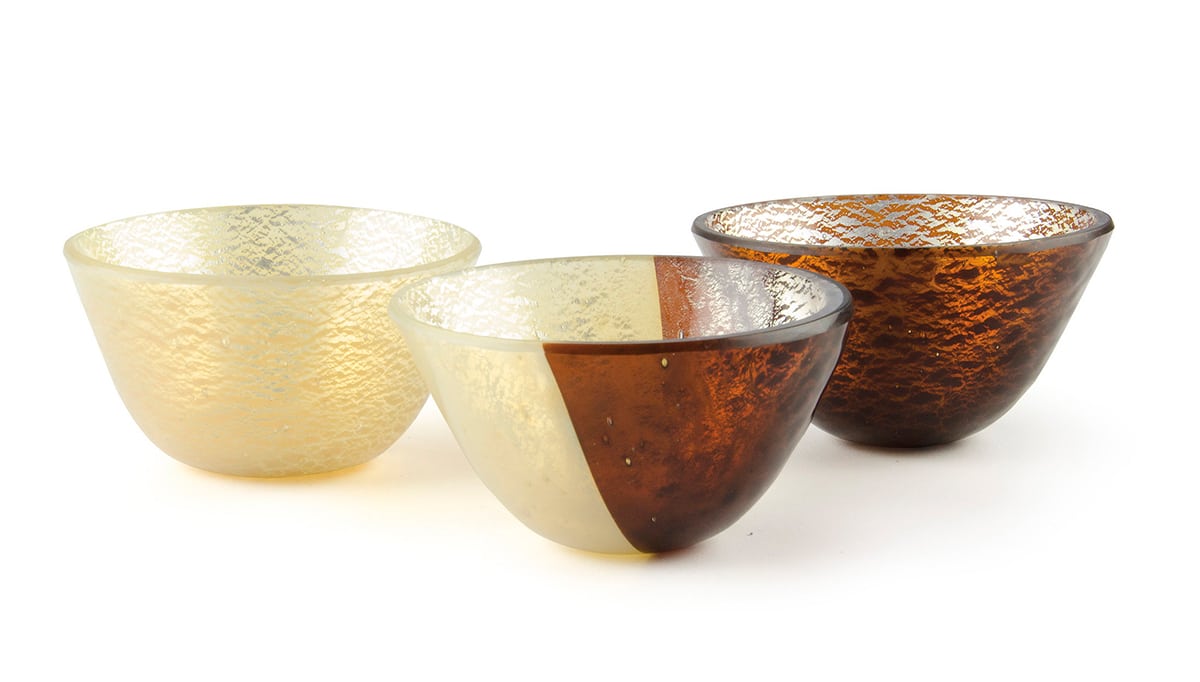
Alchemy Clear, Silver-to-Gold and Silver-to-Bronze 001015 Silver-to-Gold
-
Bubble Population
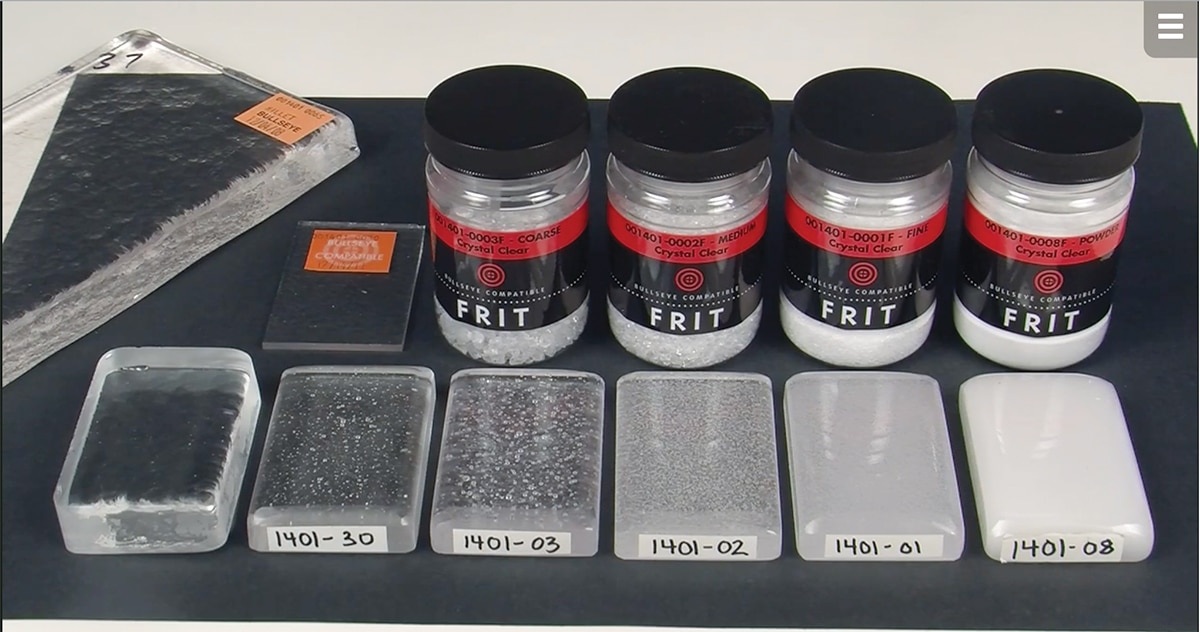
Why does my transparent glass seem to turn white? Bubbles affect light transmission in transparent kiln-glass. As a result, the more bubbles your glass contains (i.e., the higher its “bubble…
-
Bullseye Brainstorm: Textures & Irids
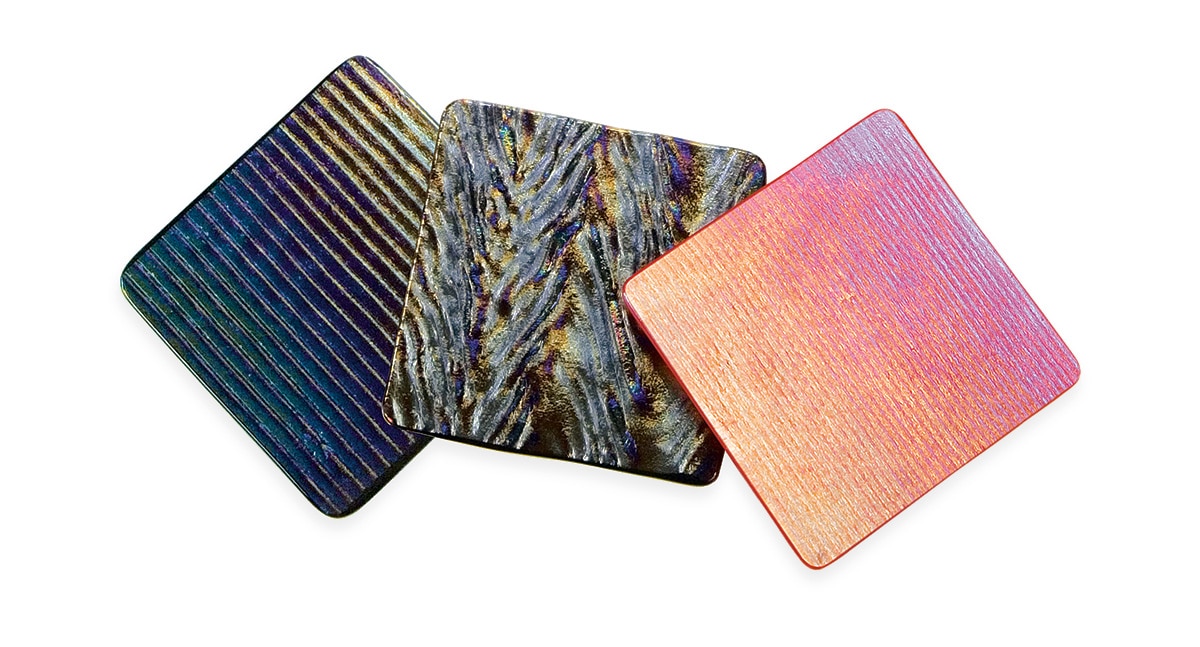
Jumpstart your ideas for using Bullseye textured and iridescent glasses by studying these examples. Each tile is made from two 4-inch squares of glass, each 3mm thick. The bottom piece…
-

Color Conversion Chart
Do you use design software to develop glass fusing ideas? The Color Conversion Chart offers our best approximation of how Bullseye Glass styles looks in CMYK and RGB color spaces.
-
Bullseye Investment Mixing Instructions
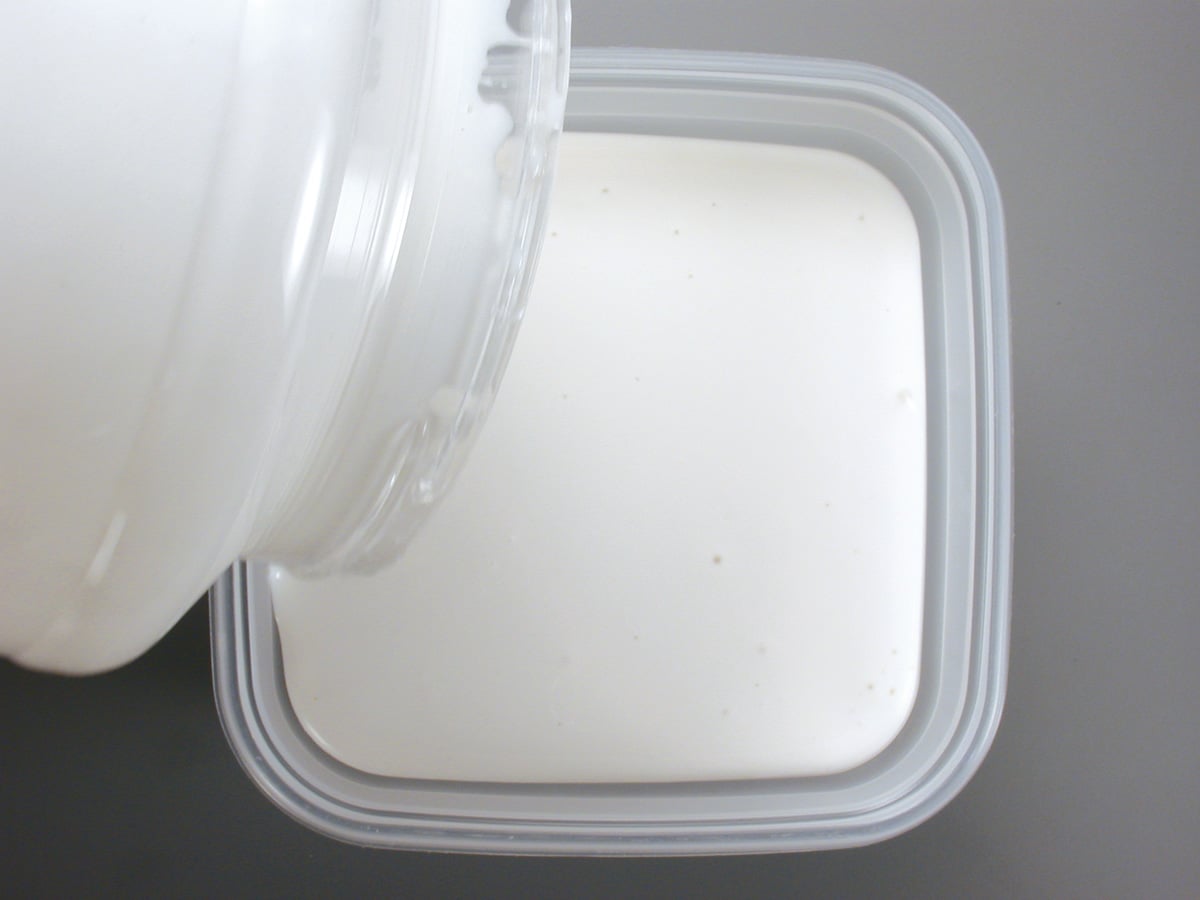
Safety First Mix in a well-ventilated area while wearing a NIOSH-approved respirator. Mixing Steps Disposal Never pour investment down the drain.Instead, dispose of it with your normal household trash.
-
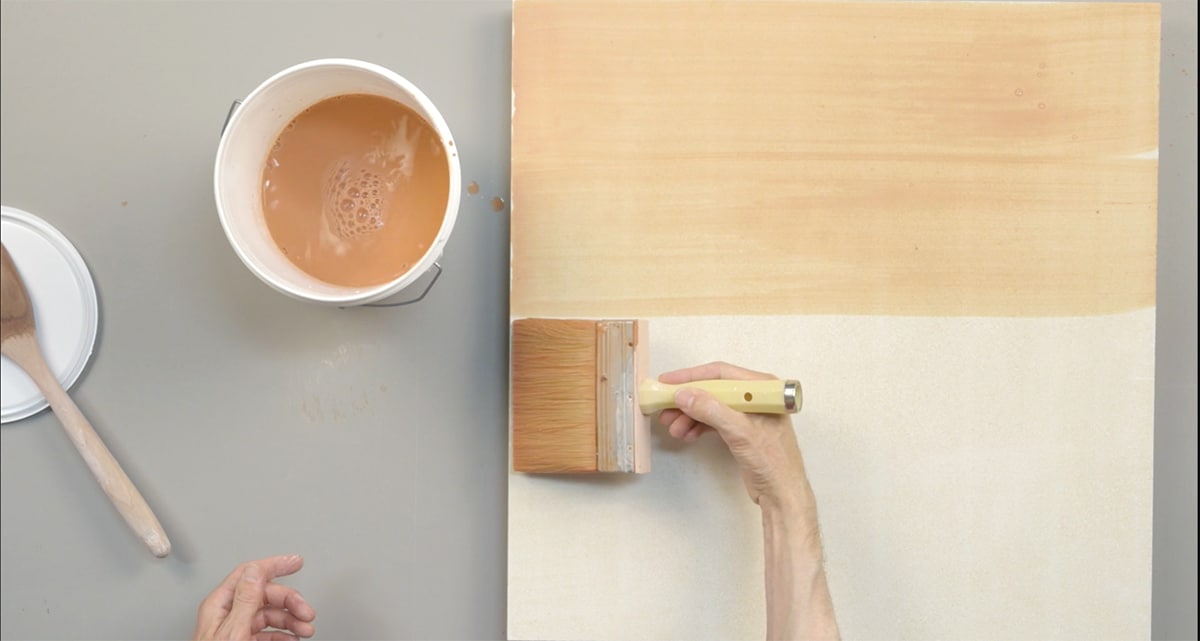
Using Bullseye Shelf Primer
Hot glass will stick to most ceramic surfaces and crack as it cools, unless prevented by a separator like Bullseye Shelf Primer. Careful application of our primer to shelves and…
